|
After spending a few days in Cusco with my family, we met up with the rest of our Backroads group to start our hiking/biking portion of the trip. A highlight was day 2, when, during a beautiful hike, our guides kept telling us they had a surprise for us at the top. The surprise was a herd of llamas that hiked with us for the rest of the day! 😍 Seriously, we were in heaven. 
  ^^ How dreamy is that?! 
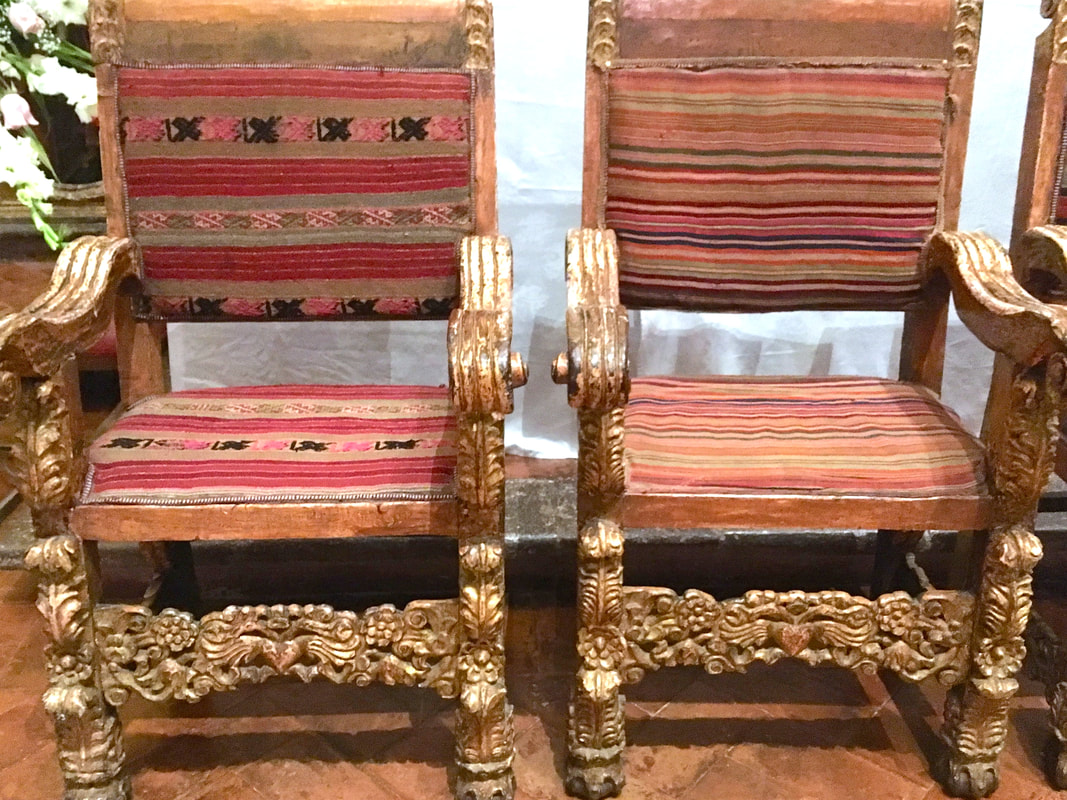
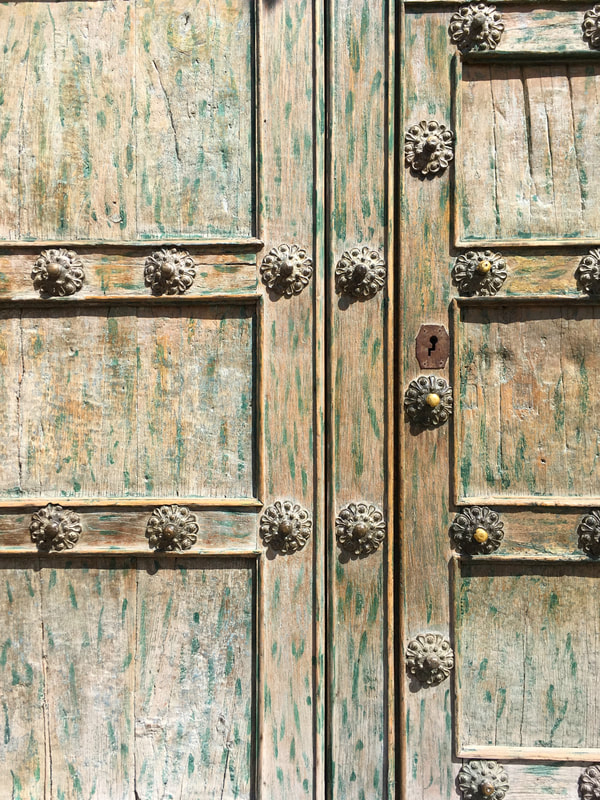
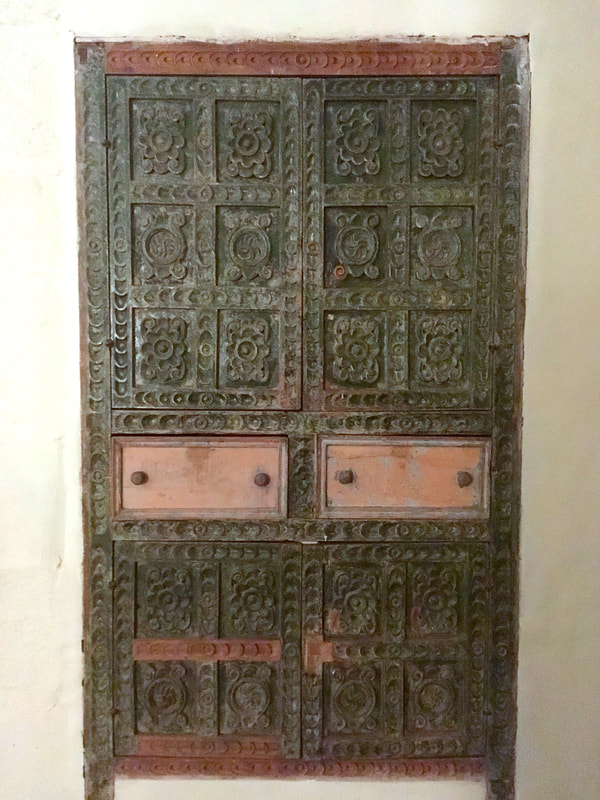
^^ "Here, little llama." 😂    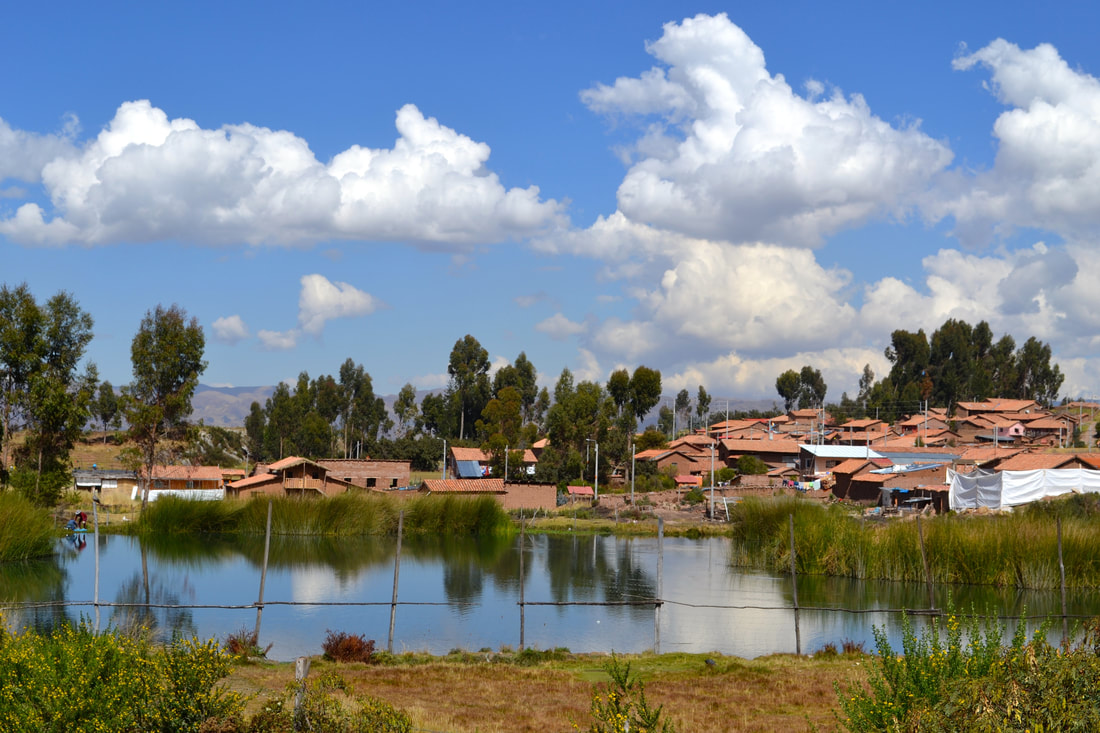 We finished up our time in Cucso at the MAP museum, where we had a pisco sour tasting and a lovely dinner, surrounded by pre-Columbian art. They have the most adorable collection of little pots. I mean... look at them!
0 Comments
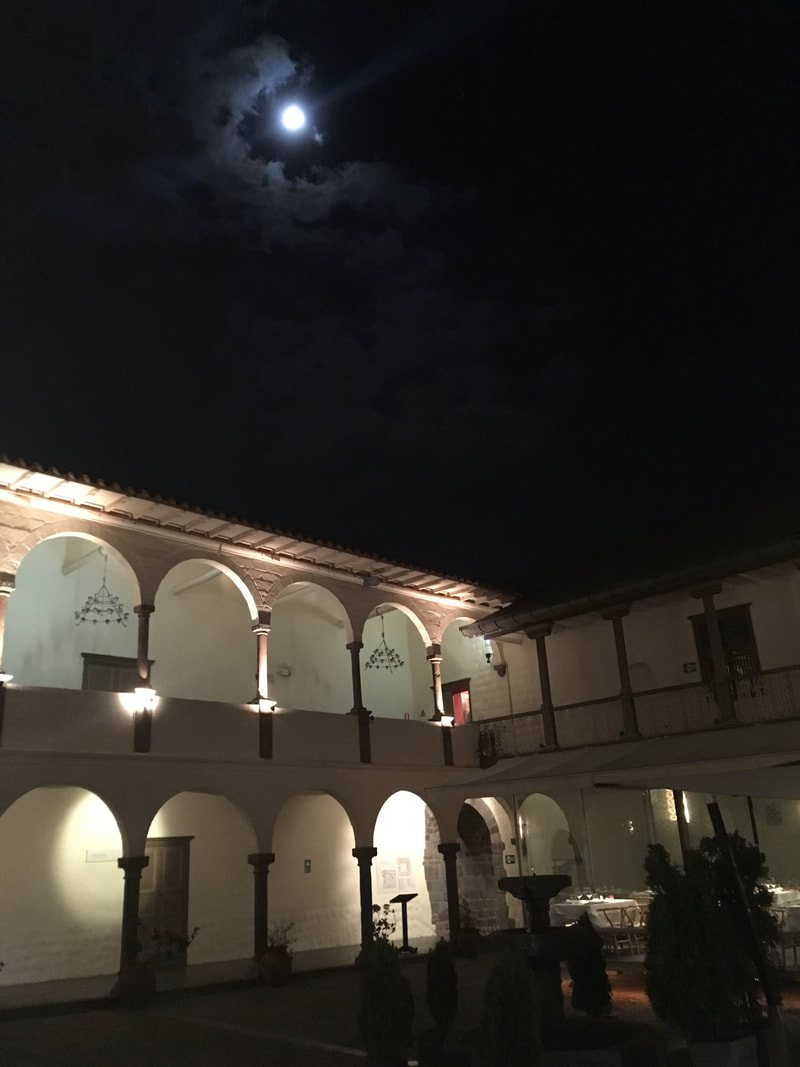
We had the most amazing time in Peru! We started our trip in Cusco where we stayed at the Belmond Monestario- an old monastery which was converted into a beautiful hotel. We spent our first day acclimating to the altitude. visiting Saqsaywaman and walking around town gasping giddily at baby alpacas. The altitude is serious business people! Weird dreams and nighttime nausea kept me up often in the middle of the night. It was so strange! Salt Lake ain't got nothin on Cusco ;)  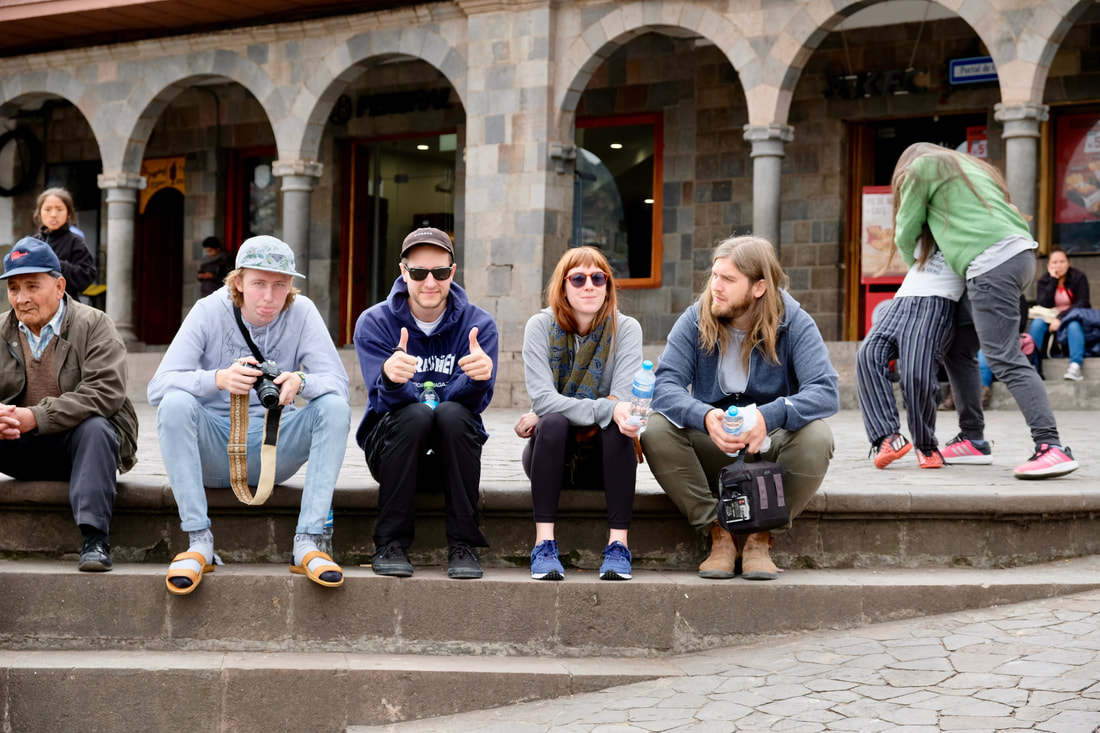


I hadn't heard of Saqsaywaman before our trip, but it ended up being one of the highlights for me! The ruins are incredible.  
^^ A natural slide 
  
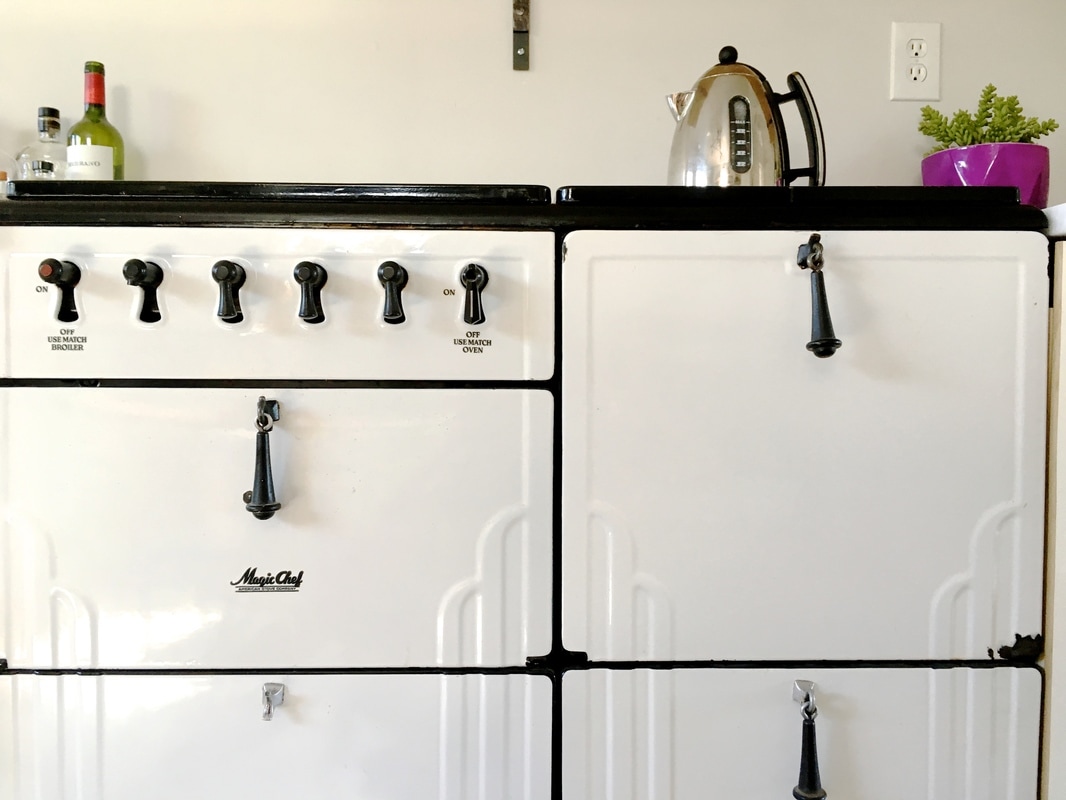
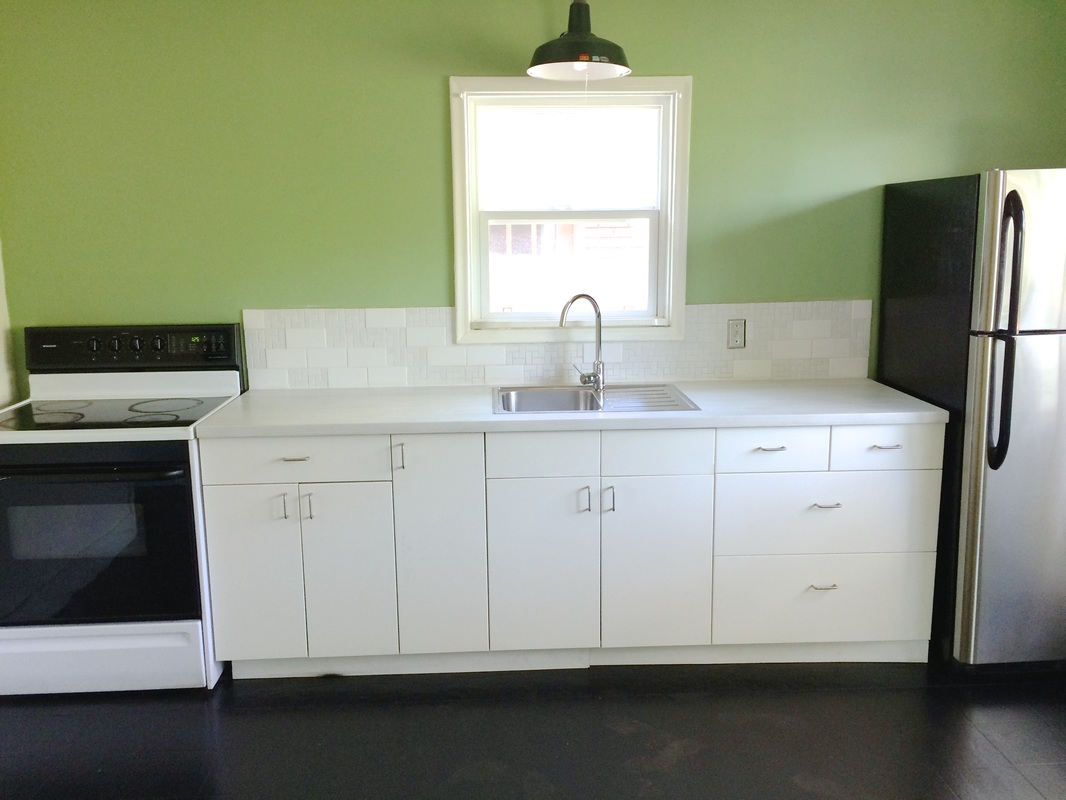
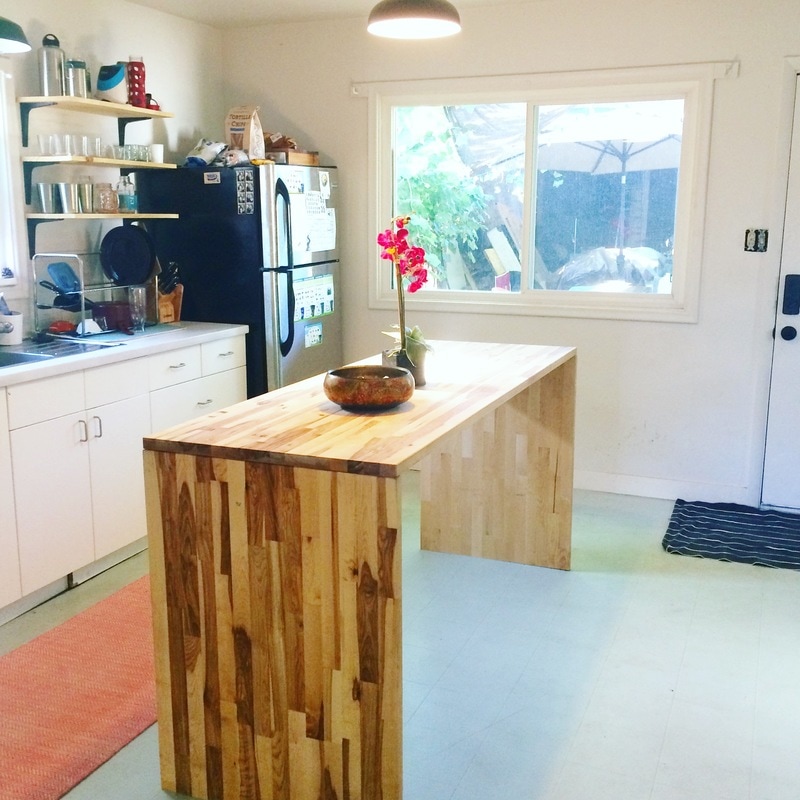
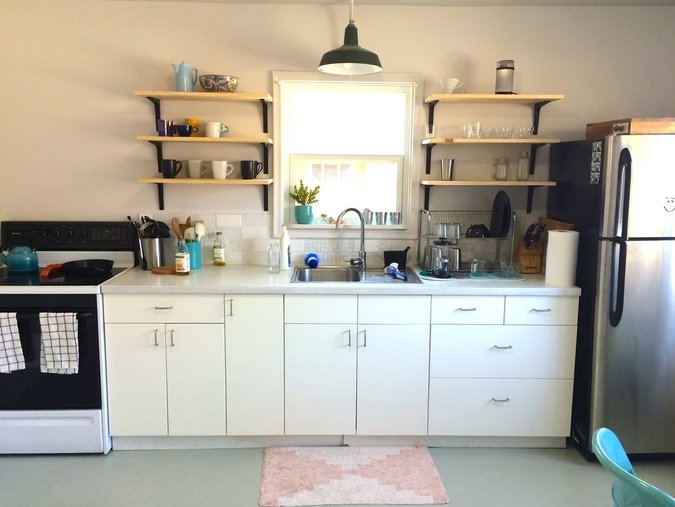
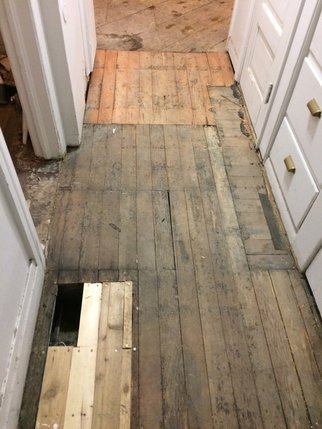
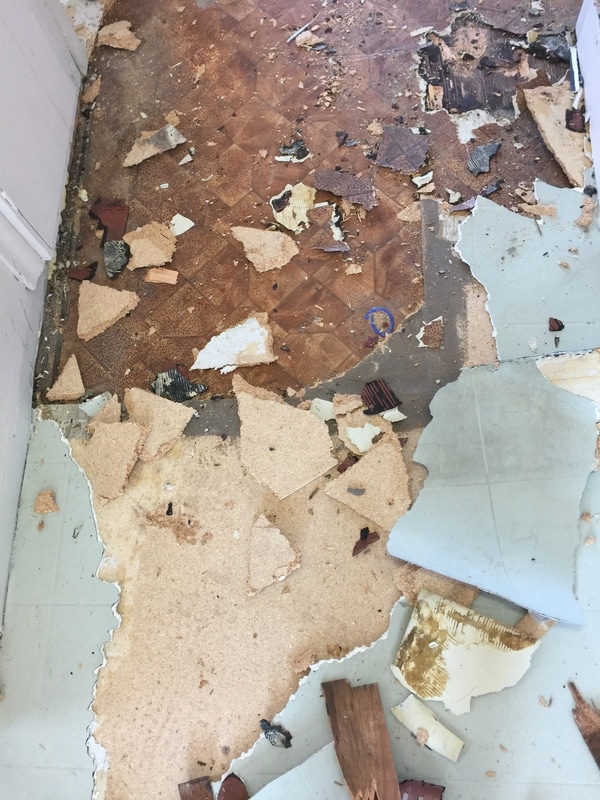
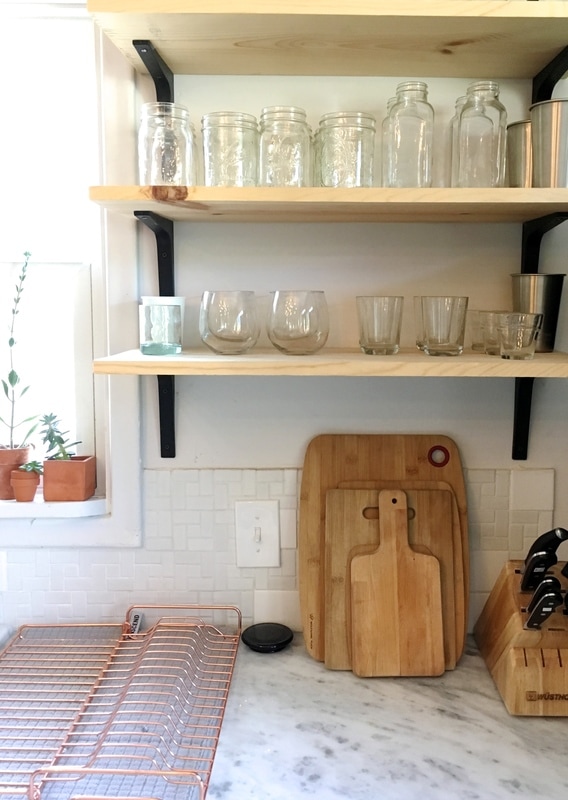
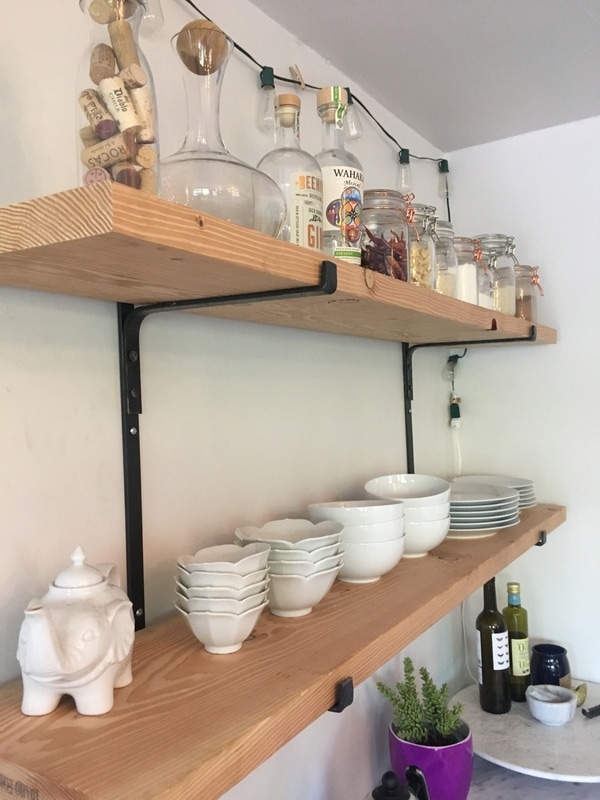
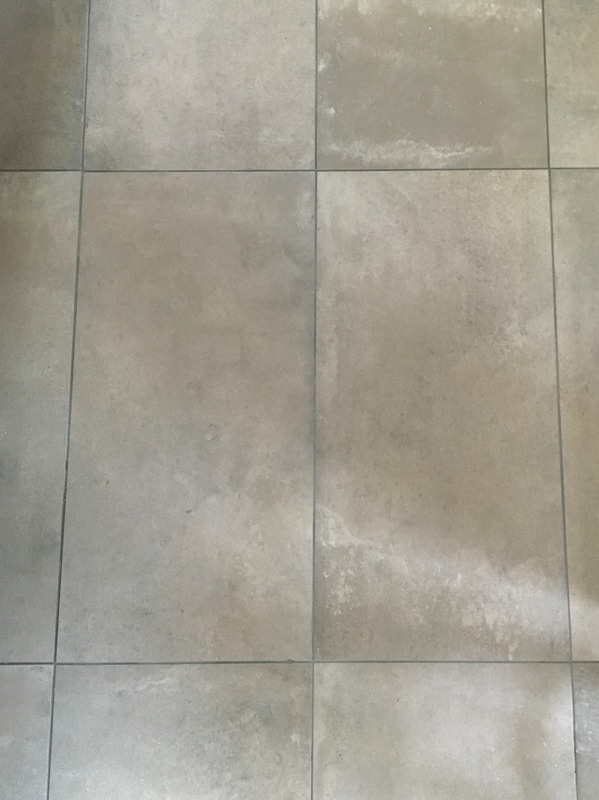
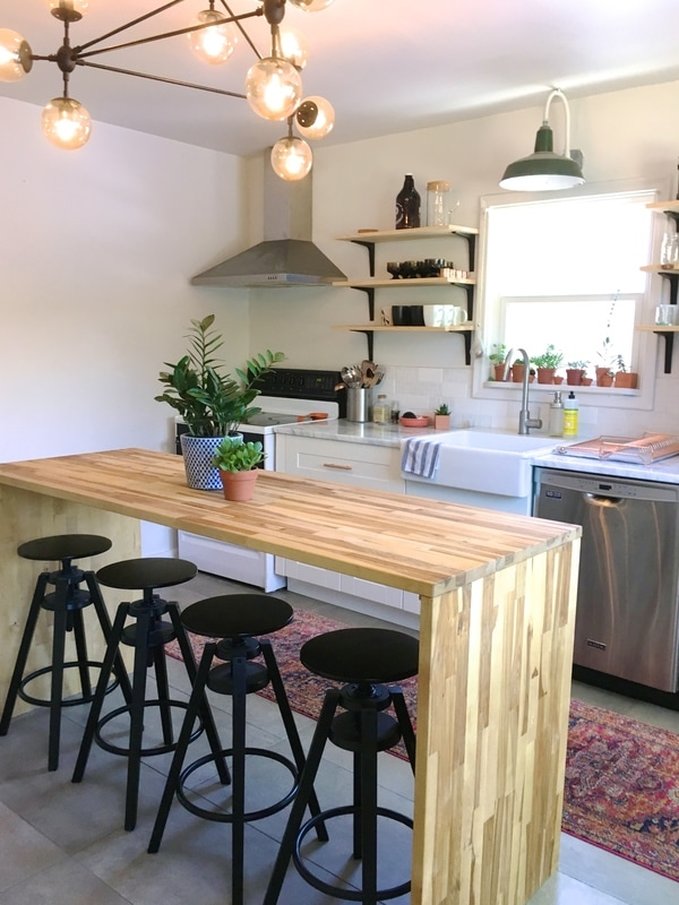 Initially, our master plan for the kitchen was to install wood floors and to add more cabinets and shelving (what's pictured below is all there was when we moved in.) We immediately added some shelving and a range hood, and Jon made the loveliest kitchen island. We didn't have it in the budget to do the floors right away so as a temporary fix, we gave the (black painted linoleum) floors a fresh coat of seafoam paint. As you can see in the photo, the black floors showed SO much dirt. Well, turns out, so does seafoam. Even though everyone warned me of this, I somehow didn't believe them. While I loved the color, I hated how dirty they always looked, so after a year in the house we decided to bite the bullet and put in hardwood. I'm not exactly sure how "hardwood" morphed into basically gutting the kitchen and starting over, but somehow it did. Funny enough, we didn't even end up using hardwood, but opted instead for a concrete-look tile (which I am happy to report does not show dirt at all!) We decided to splurge on the tile and countertops because we knew we wouldn't need large quantities of either. We saved by keeping the existing backsplash (it's cute, right?), using Ikea cabinets (assembled by yours truly), and finding some good deals! BEFORE
Unfortunately, I didn't take before pictures of the other side of the kitchen, but it was just a blank wall. PROGRESS
DURING
^^ We pulled up SIX layers of stuff! 3 layers of linoleum + subfloor. AFTER 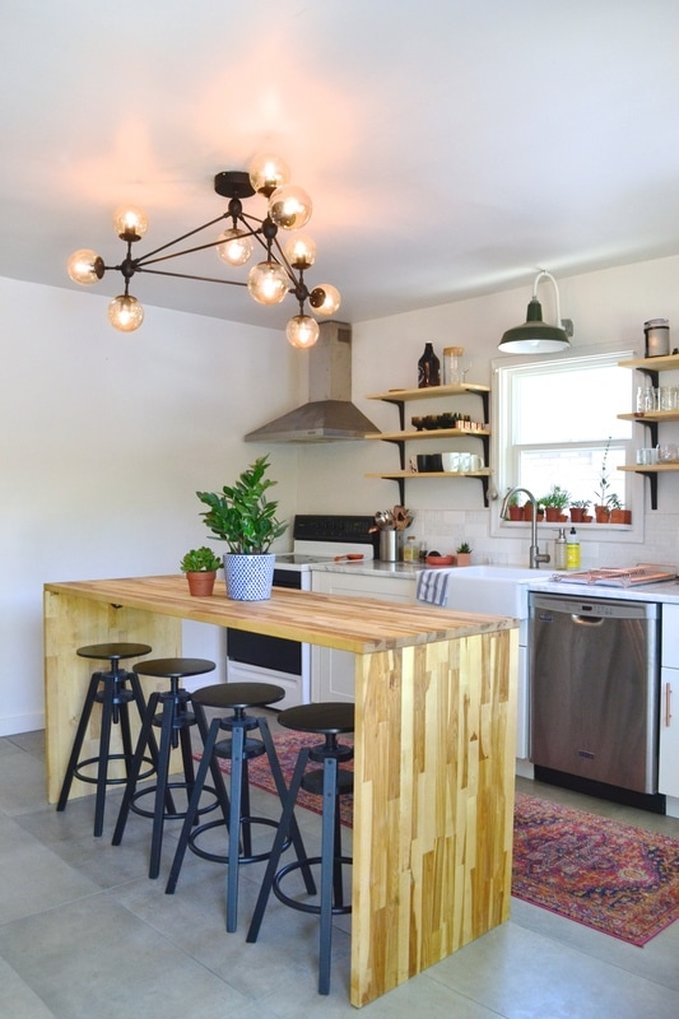 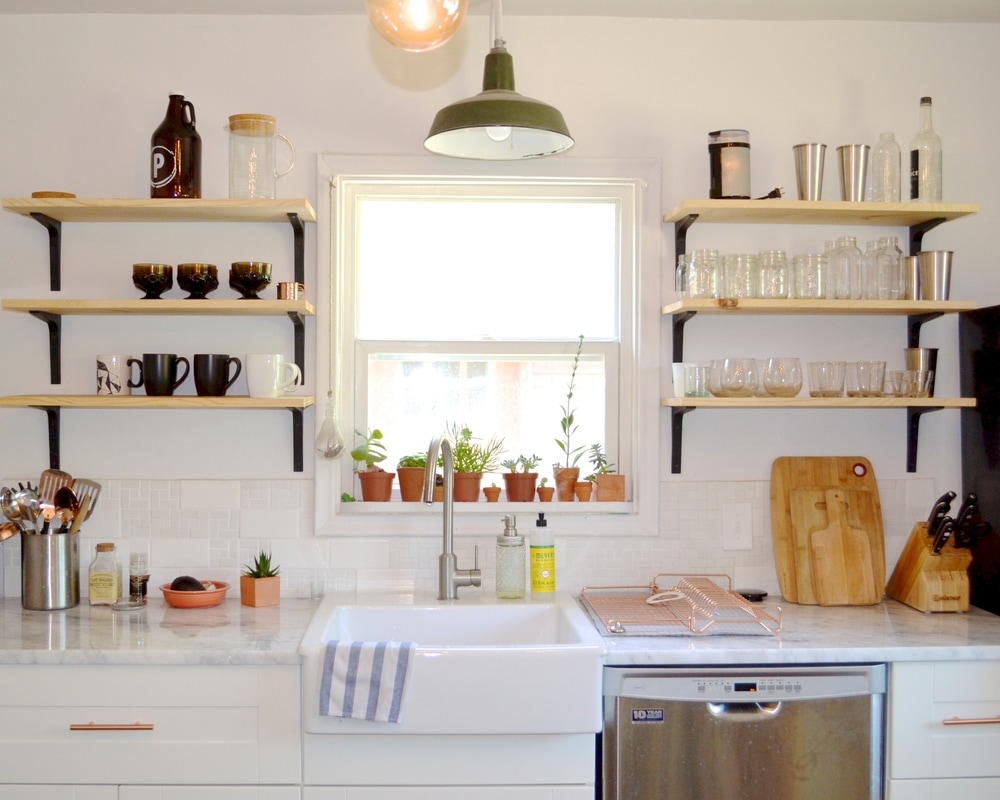
  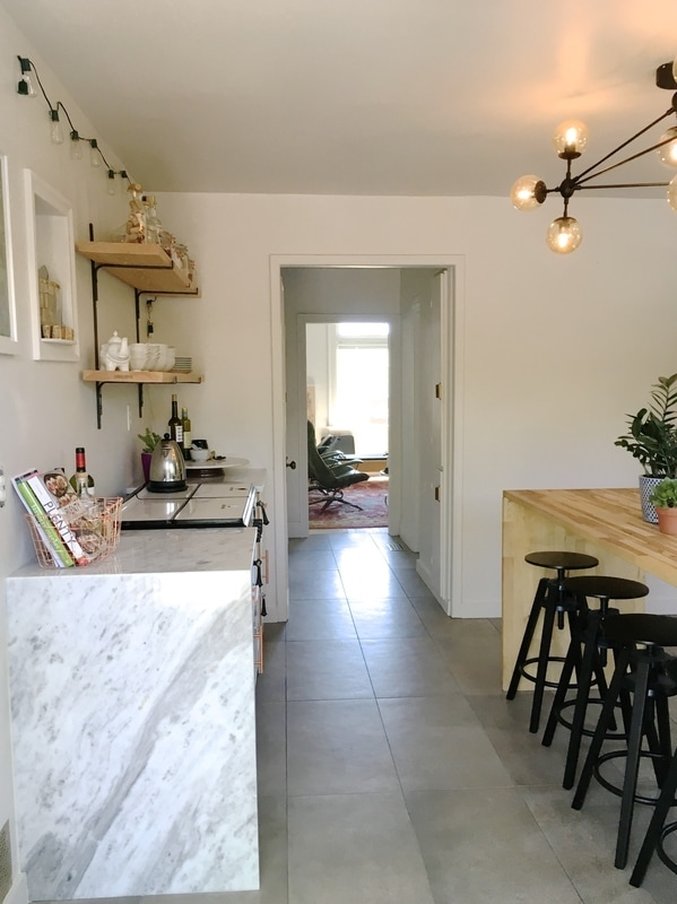
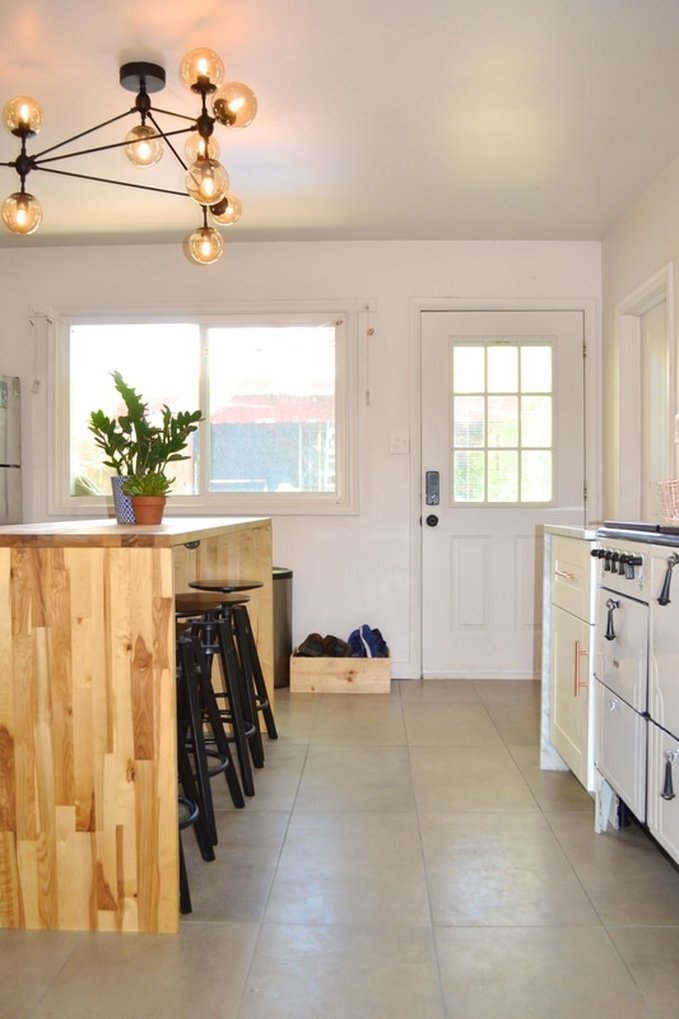 I am SO happy with how everything turned out. Dream kitchen! Sources:
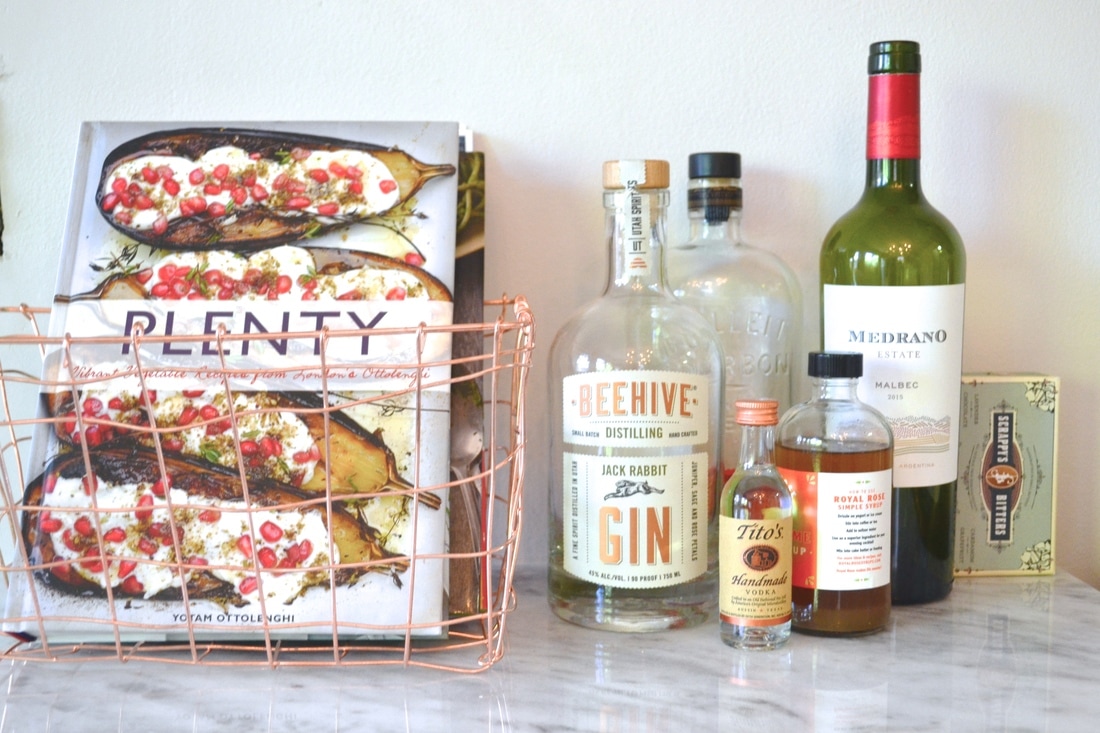
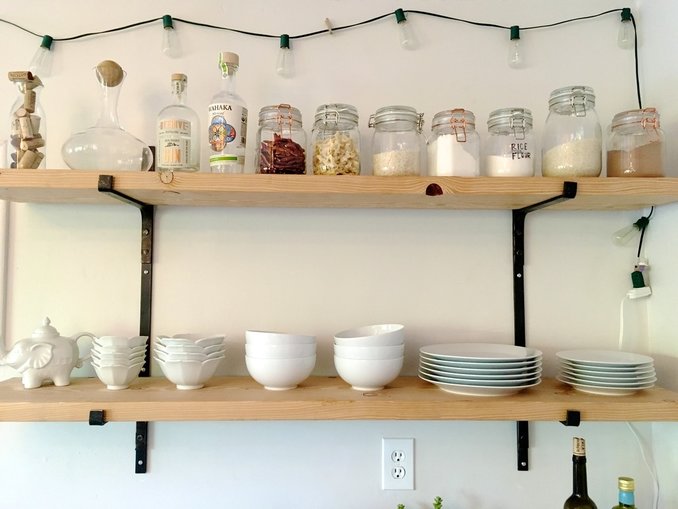
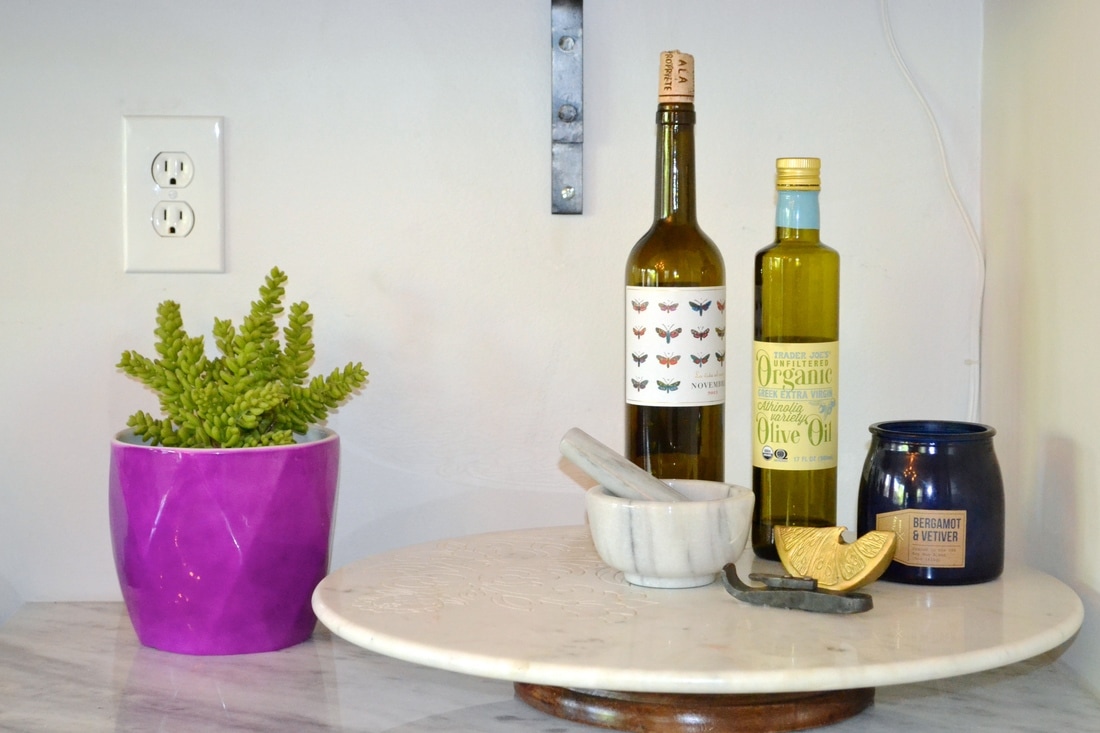
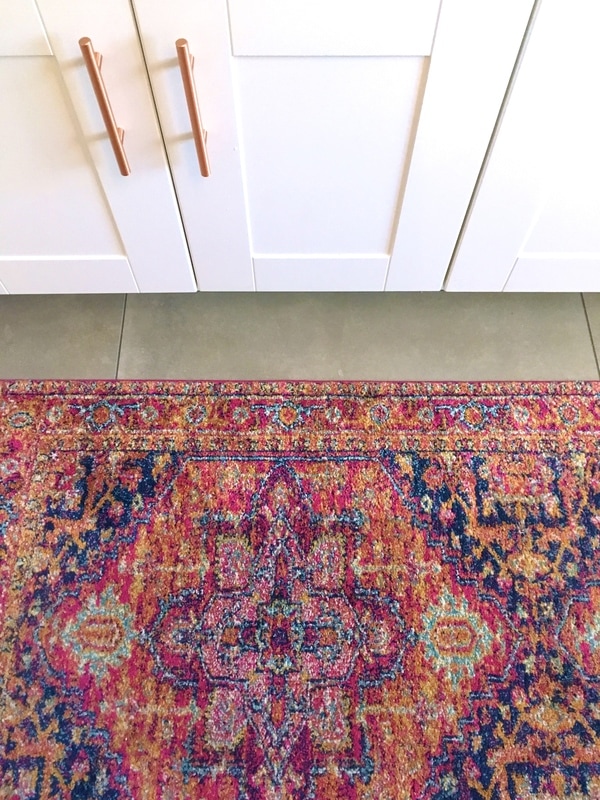
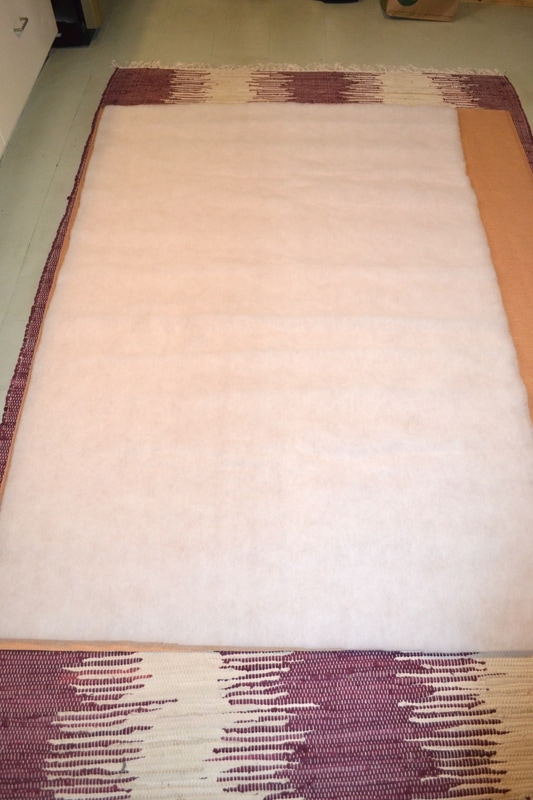
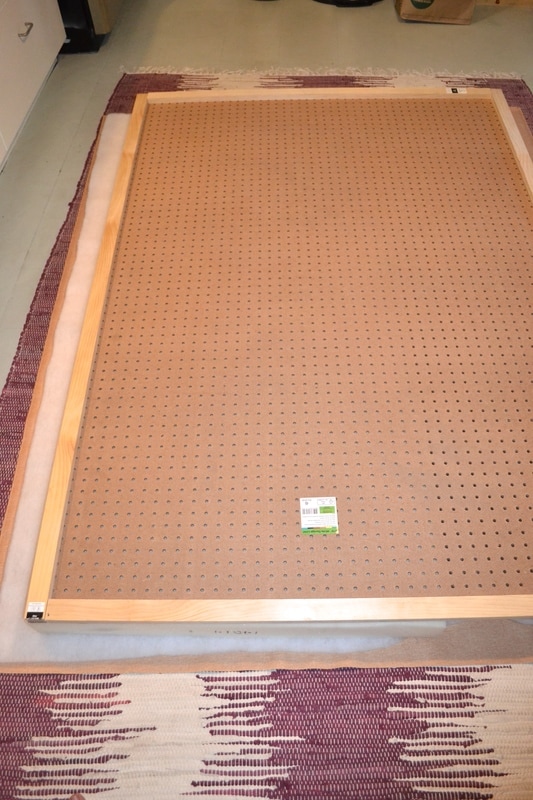
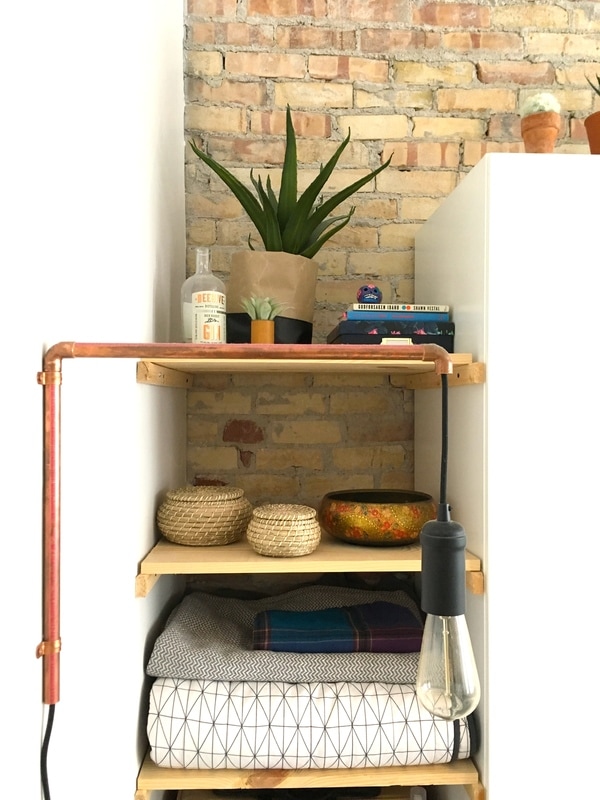
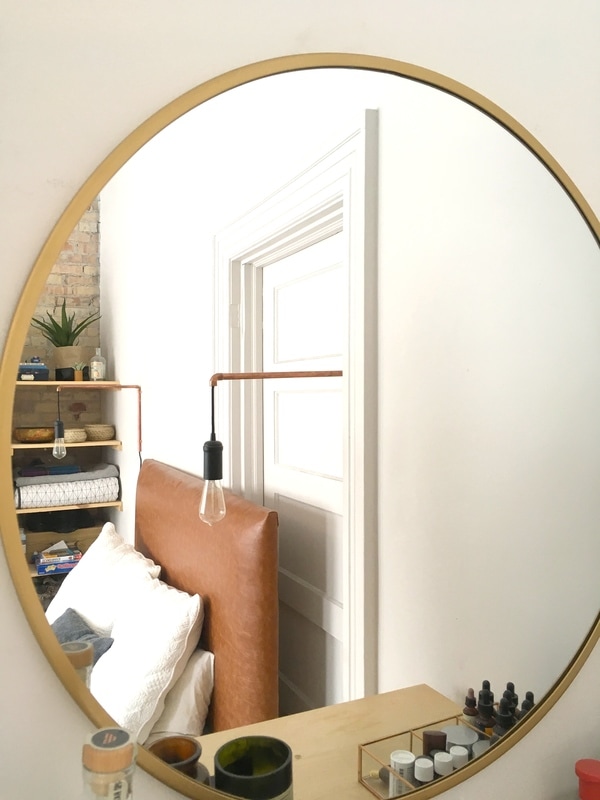
tile- Fusion Cemento (Salt Lake Tile Company, also here) cabinets (IKEA) drawer pulls (Amazon) countertops- New Super White granite (Romo Granite) sink (IKEA) we lucked out and found the exact sink we wanted in the as-is section for $90 off- score! faucet (IKEA) island (DIY) bar stools (IKEA) island light (Amazon) open shelving (DIY) iron shelf brackets (hand-forged by Jon) runner rug (Rugs USA) I built a headboard! Here's how: Materials: 2 yards leather or faux leather 2 yards batting 3" foam (3'x5' piece) *peg board (4'x5') two 1"x2" pieces of wood, 5' long two 1"x2" pieces of wood 3'8" long adhesive spray drill screws *Note: I used a peg board with the intention of tufting the headboard (here was my inspiration), but ended up liking it without the tufts. If you want to add tufting to yours, I would definitely recommend using a pegboard. Otherwise, any piece of plywood will work! First, attach the 1x2 pieces of wood to the back of the peg board, using small screws.  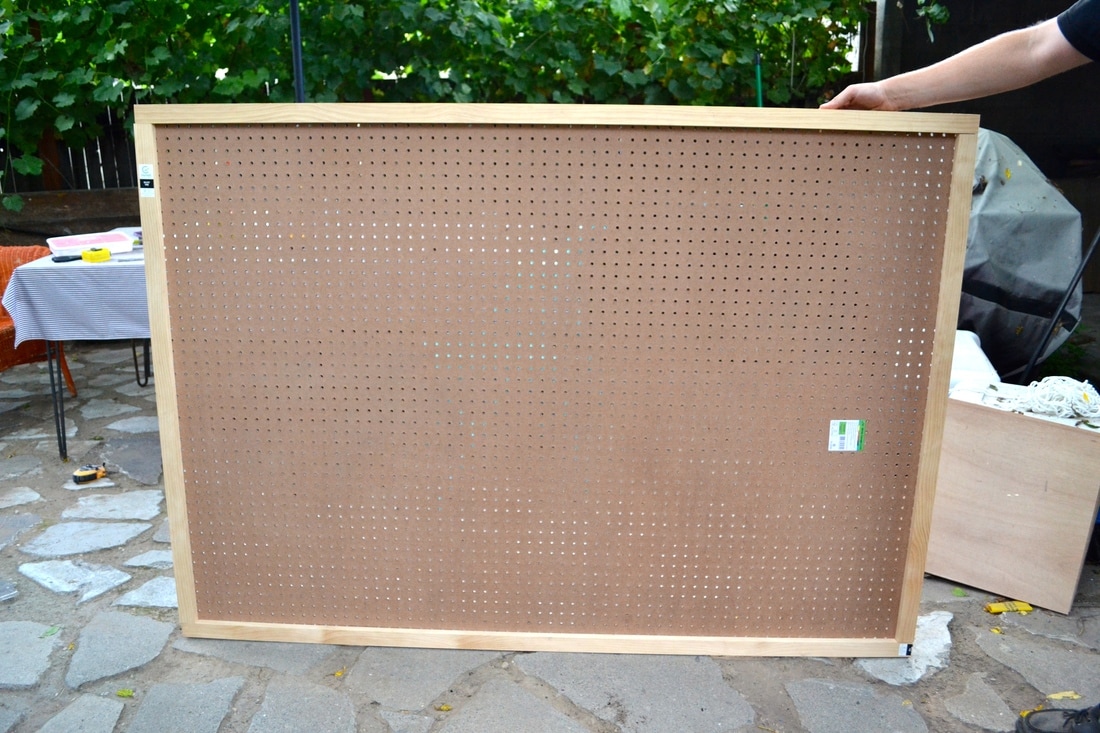 Next, spray the front top half of the pegboard with the spray adhesive. Line the foam up with top of the board and press it down gently to adhere. 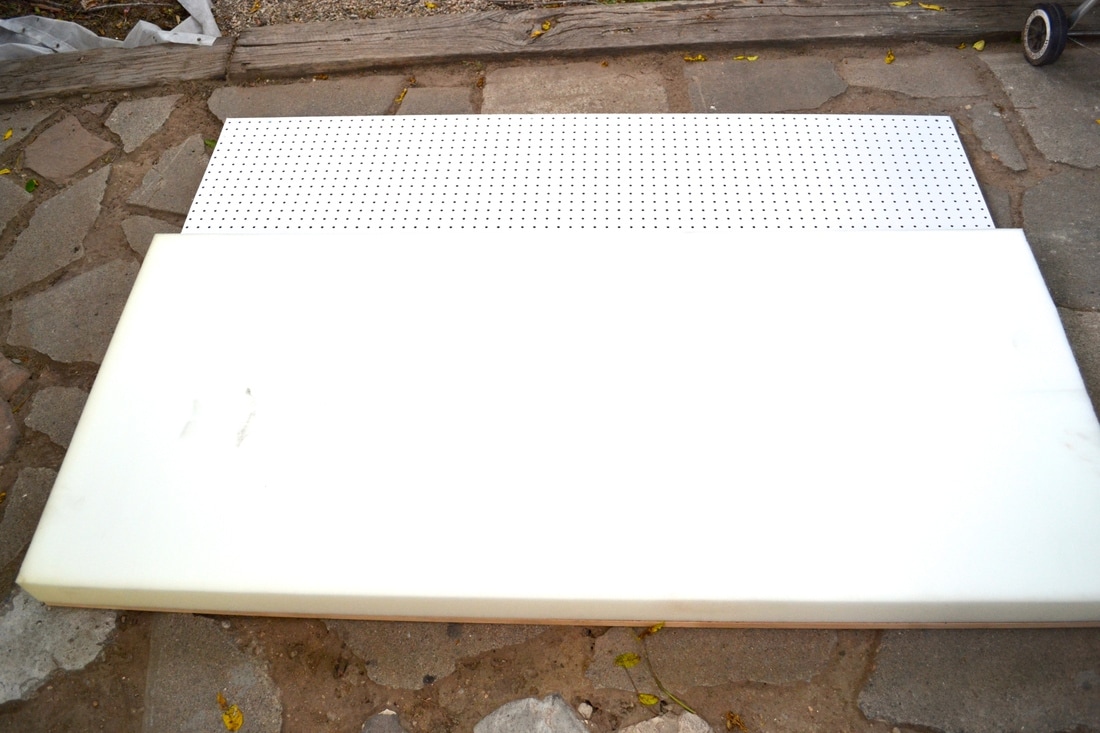 Lay the following face down in this order: leather, batting, pegboard.
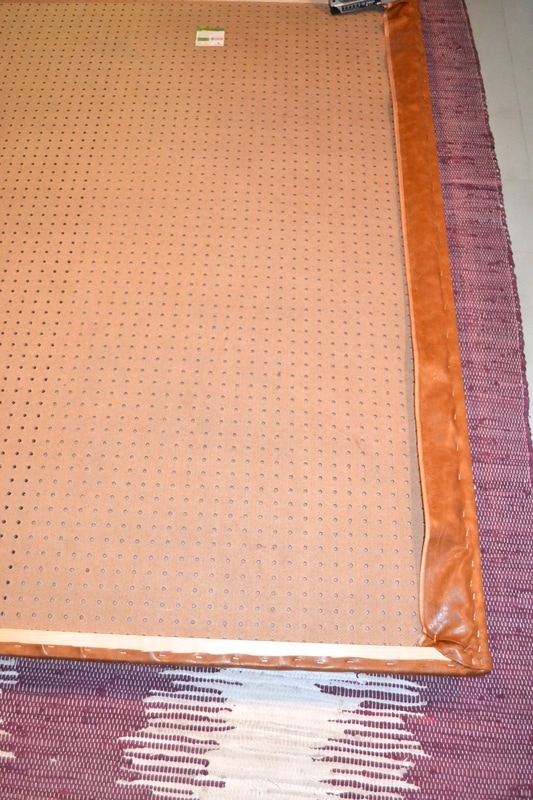
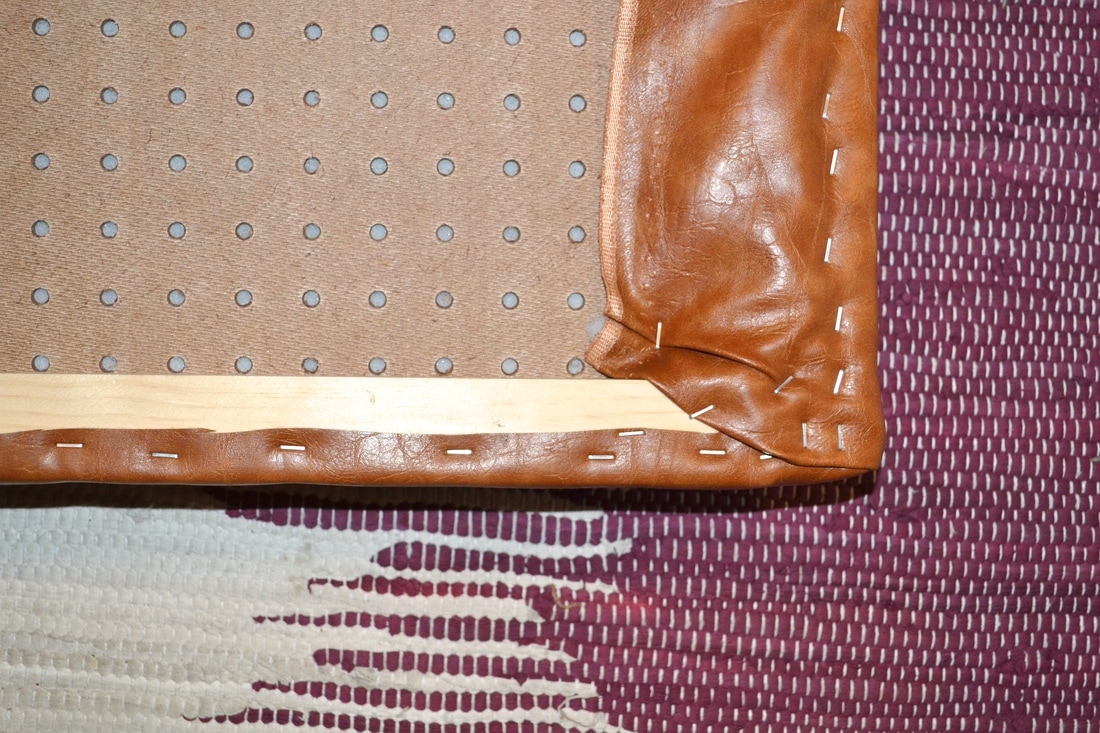
It should look like this: 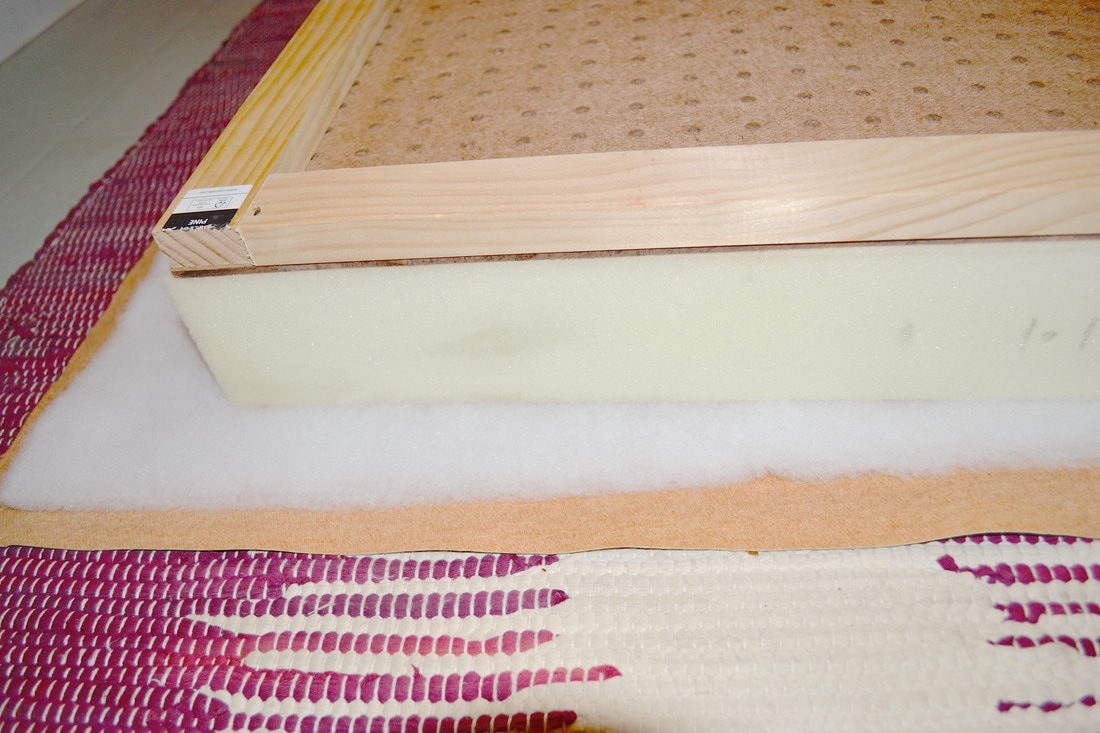 Next, fold one side of the fabric up and over the back of the pegboard. Pull the fabric taut and staple to the 1x2, going just the length of the foam piece. Repeat on the other side of the pegboard, and then on the top.
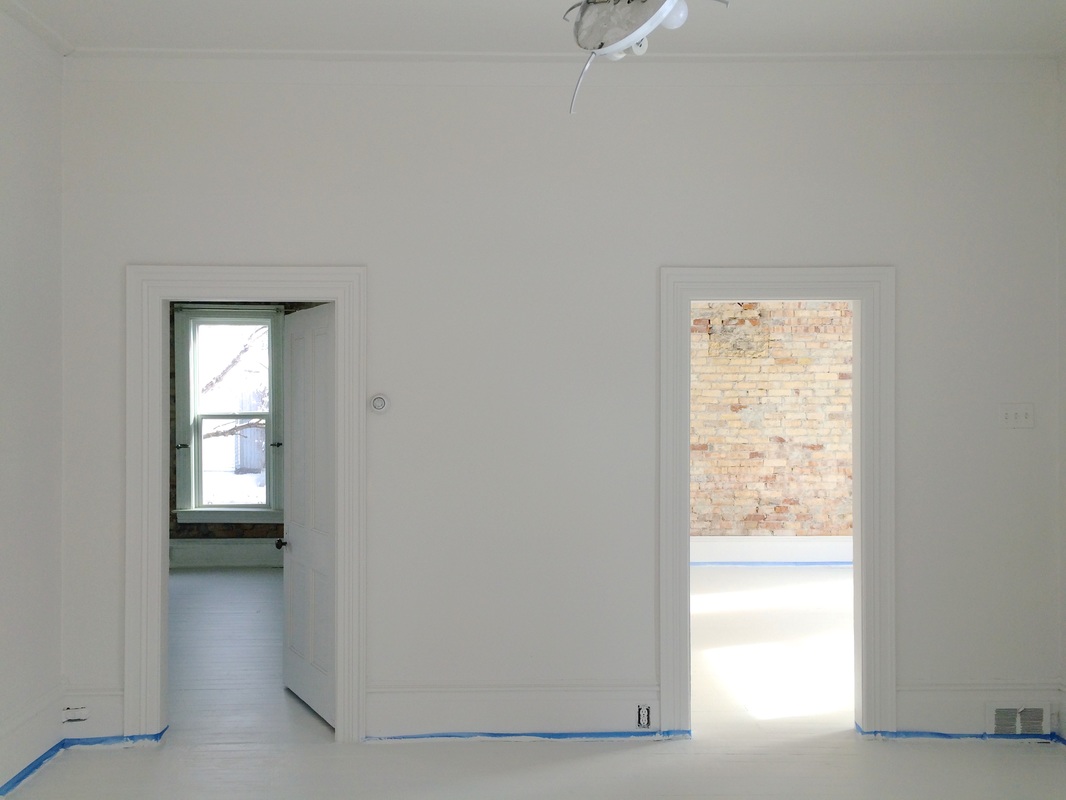
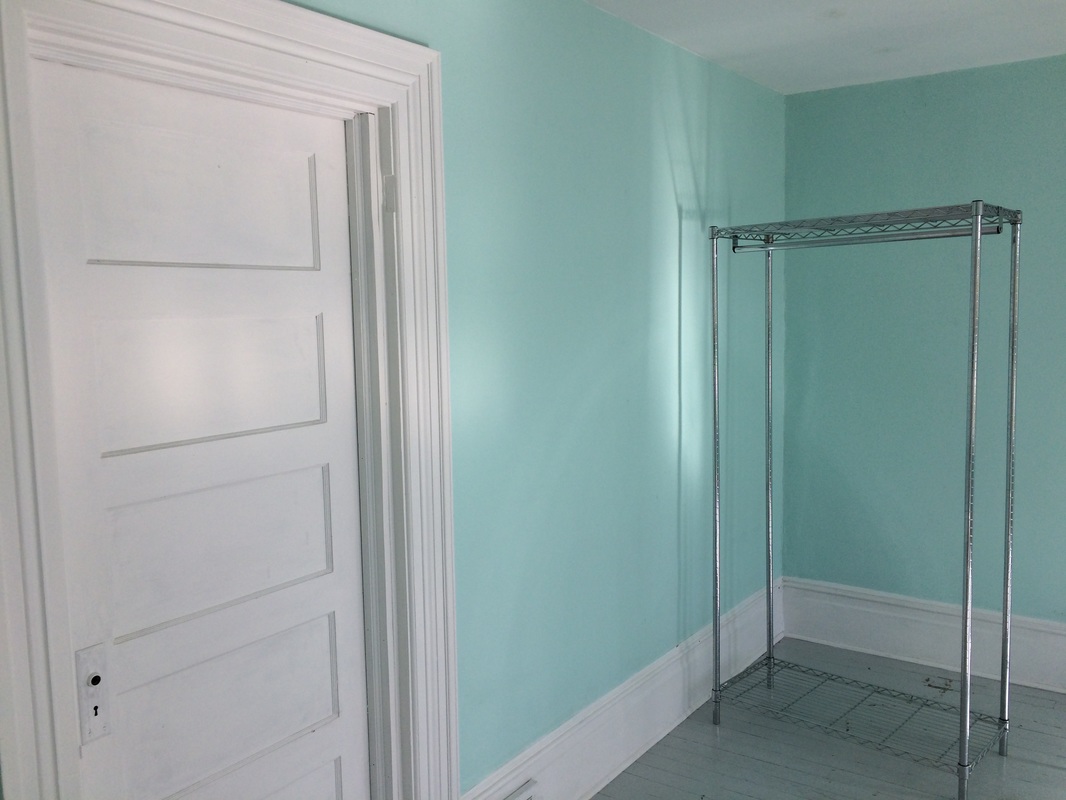
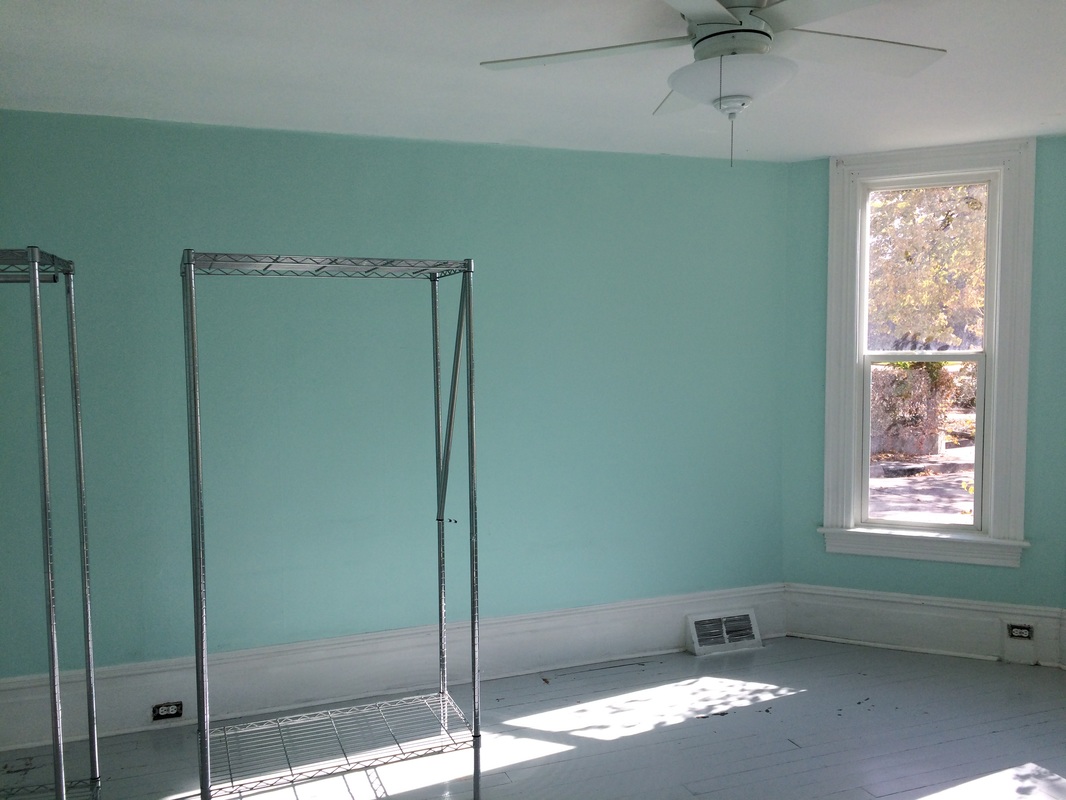
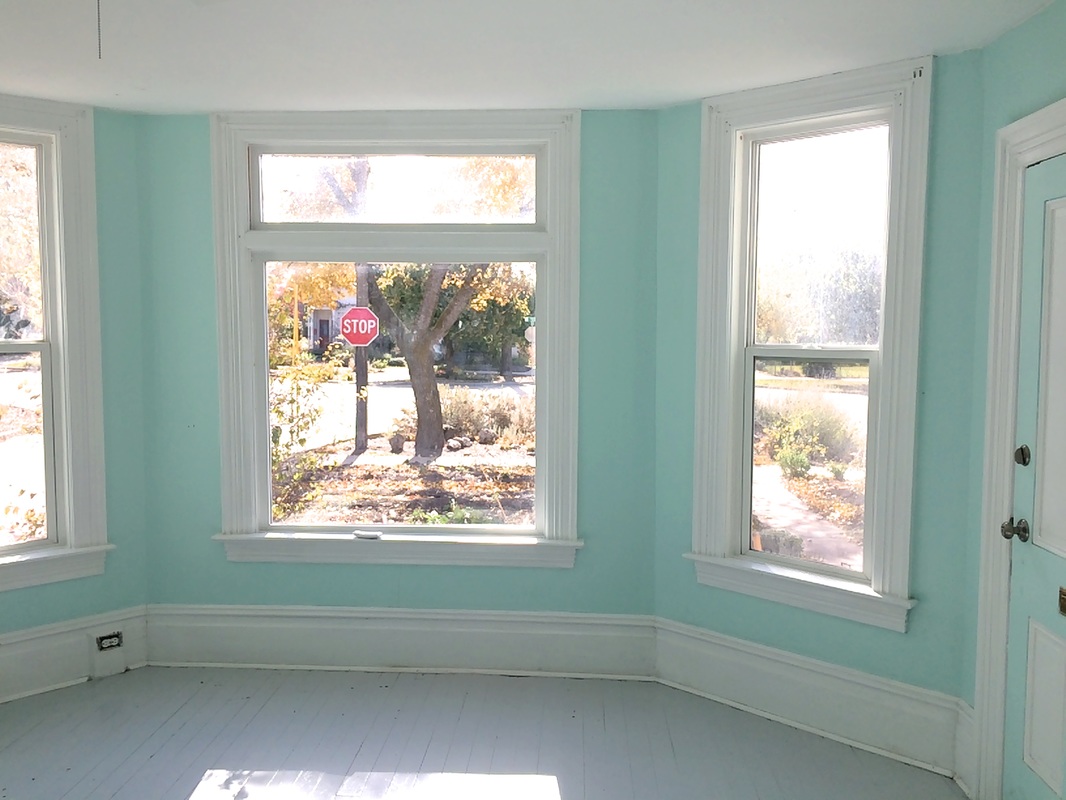
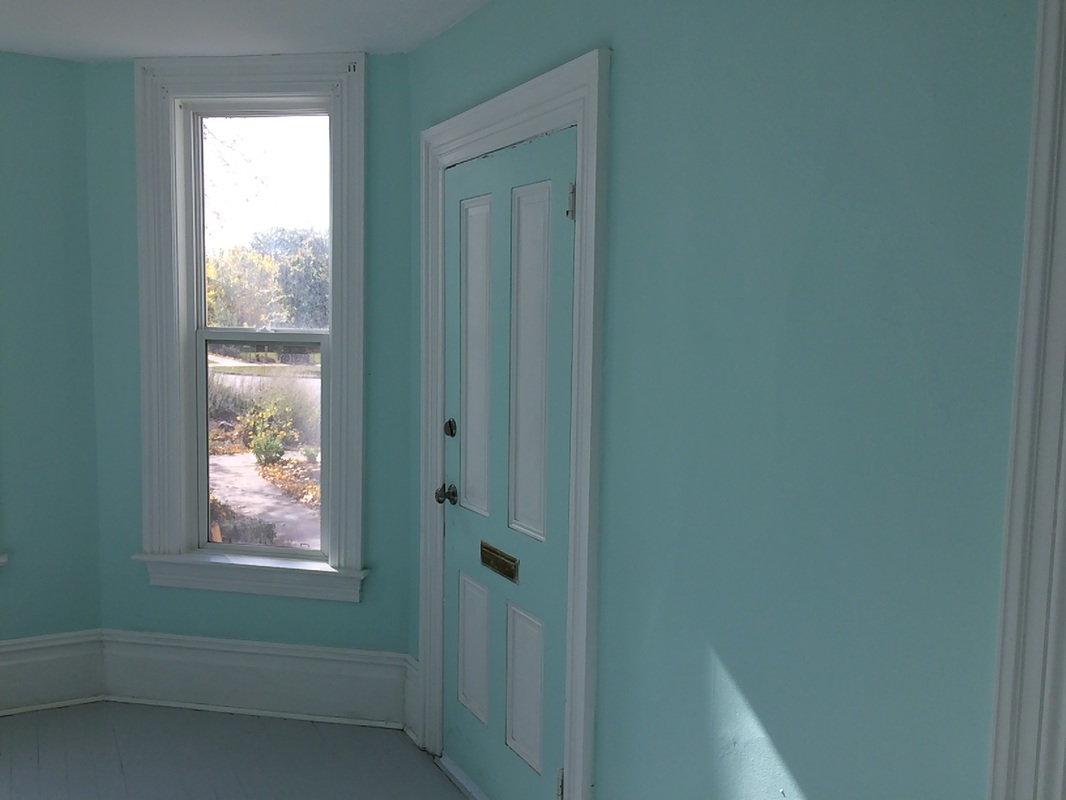
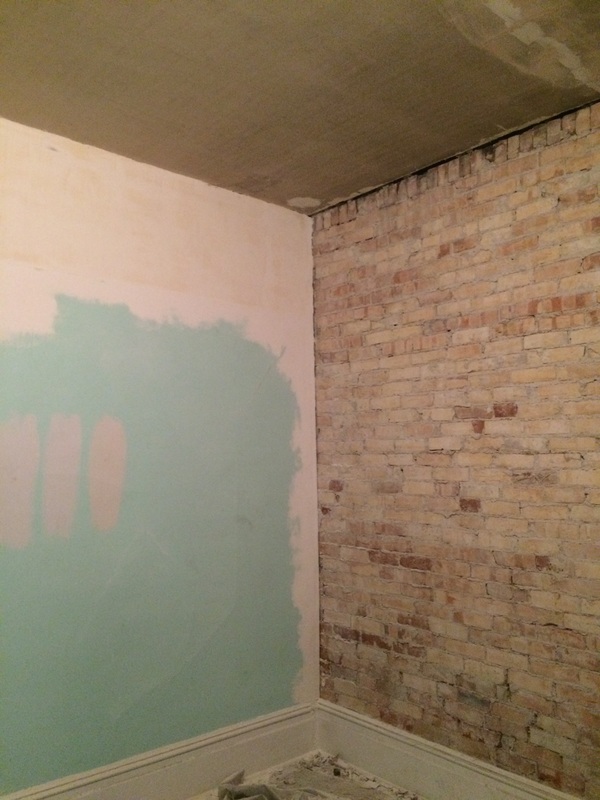
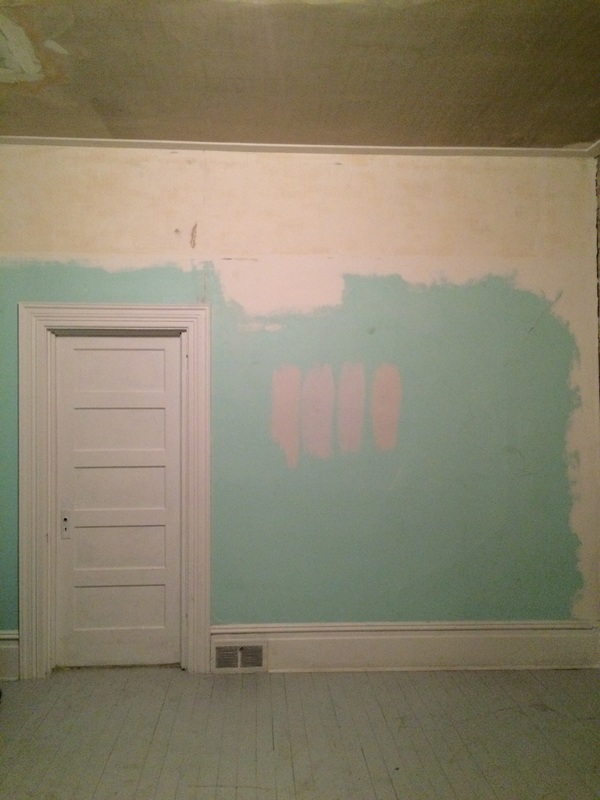
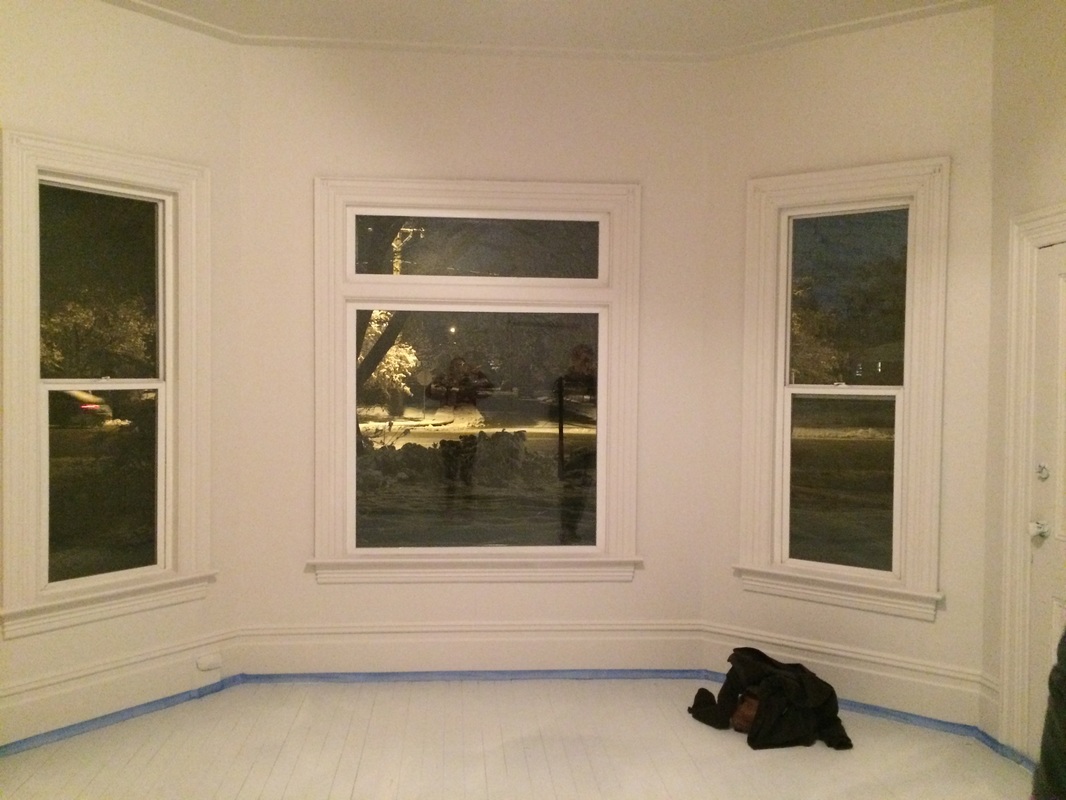
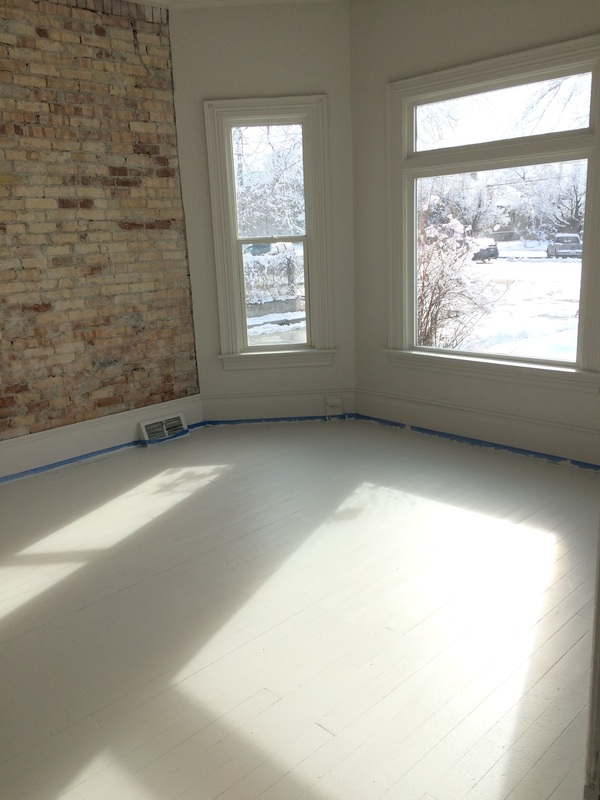
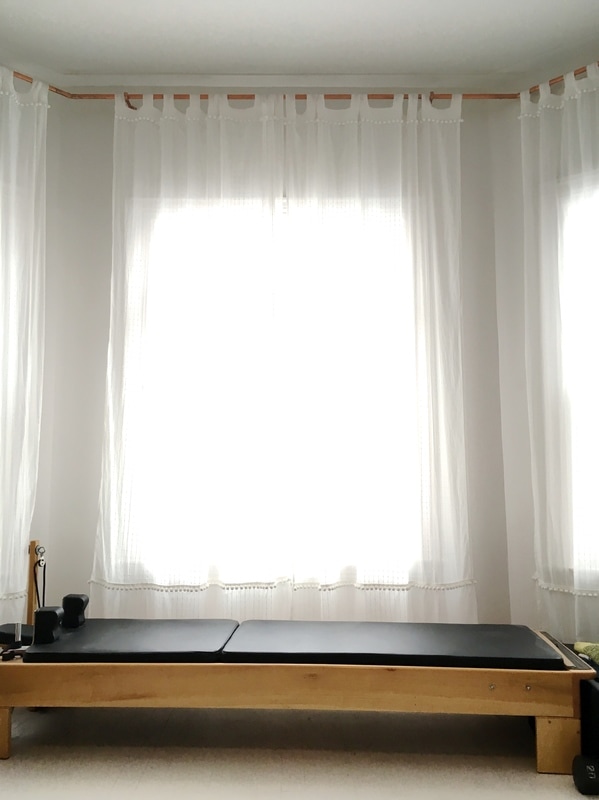
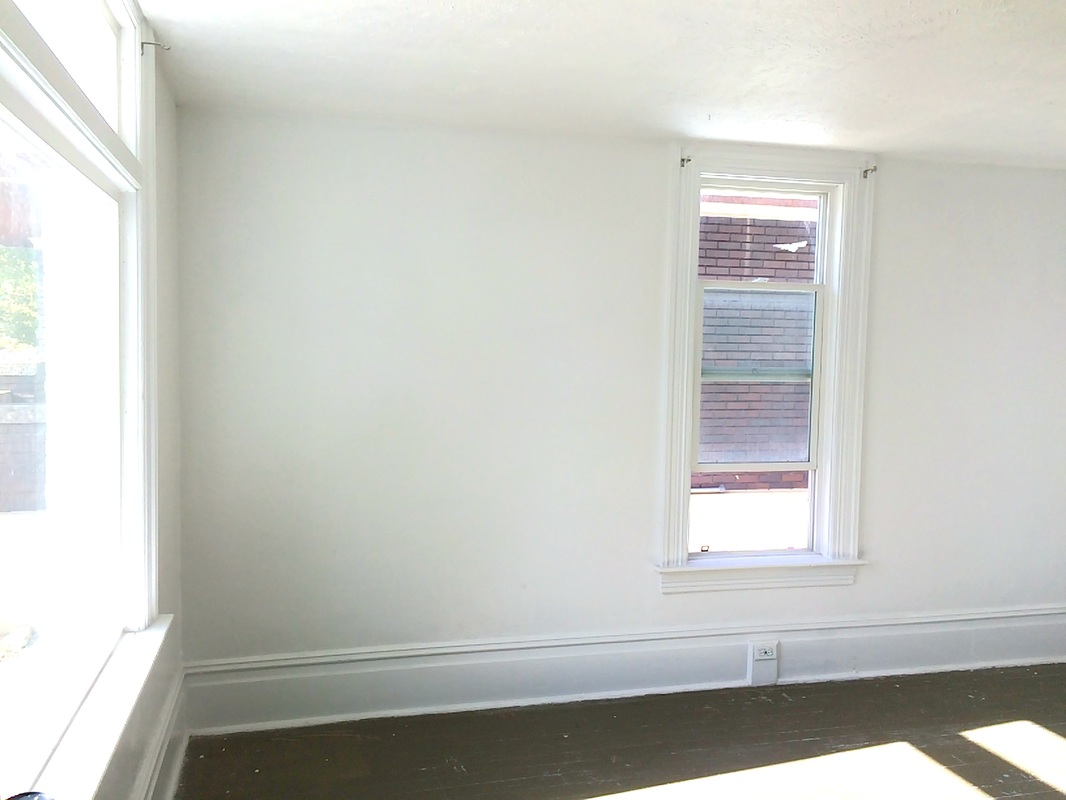
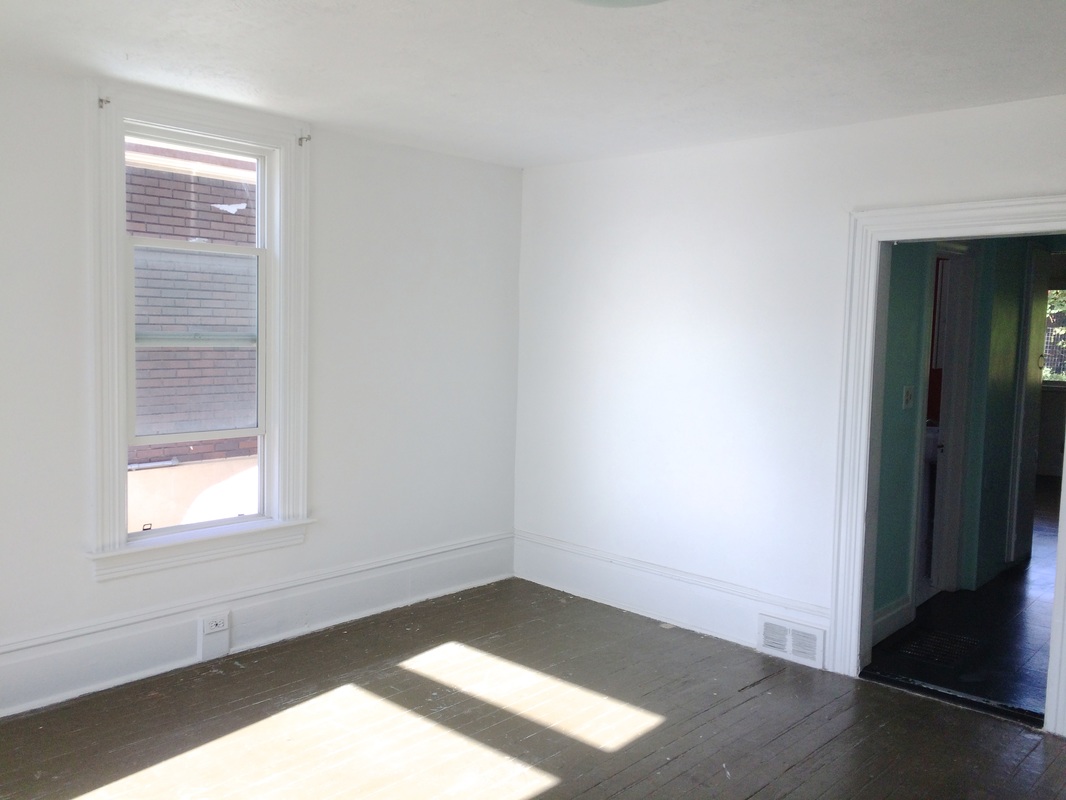
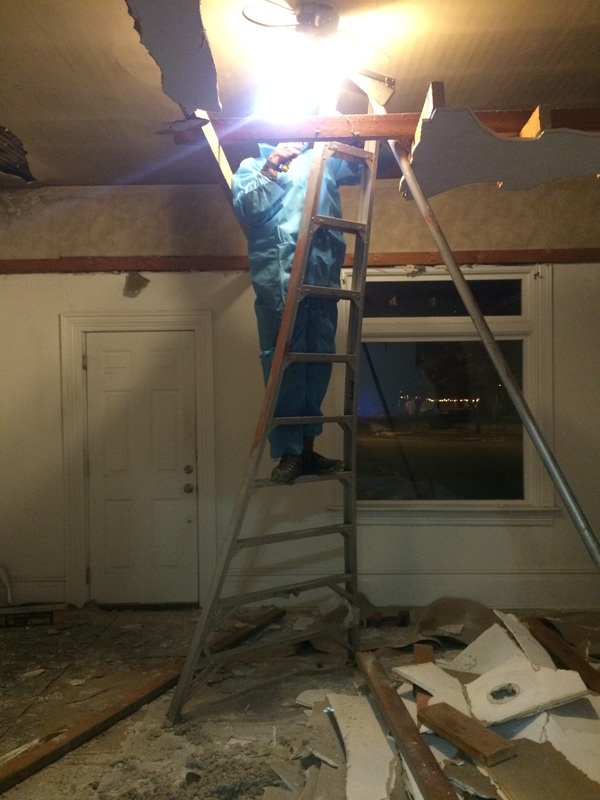
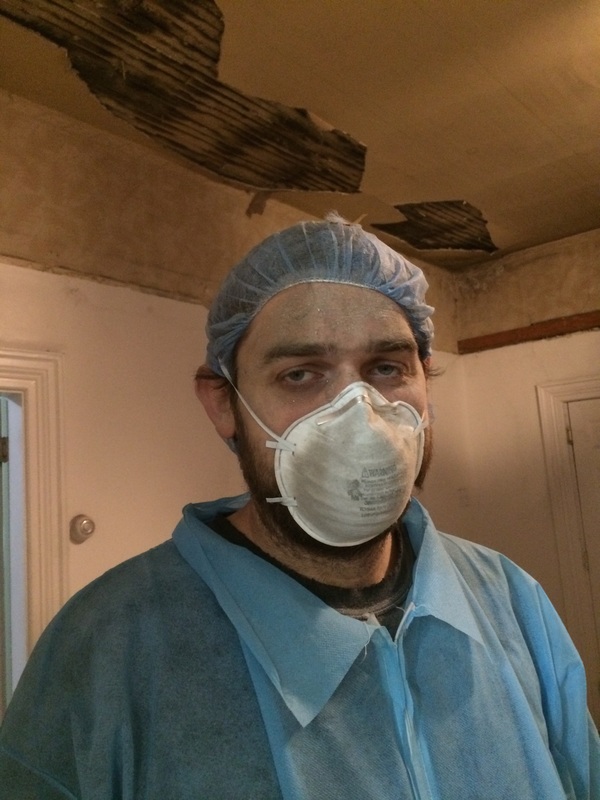
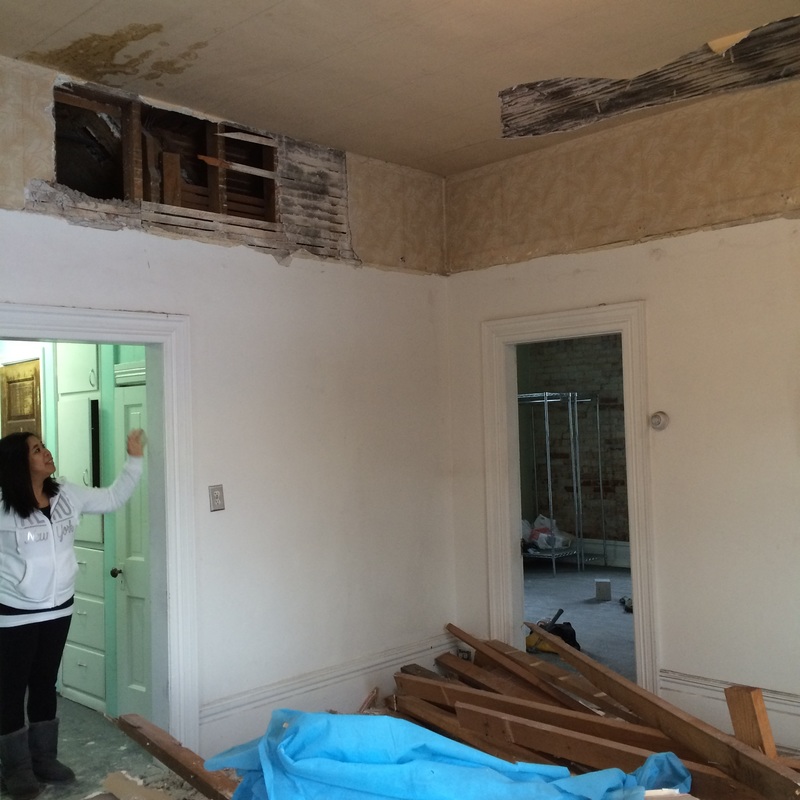
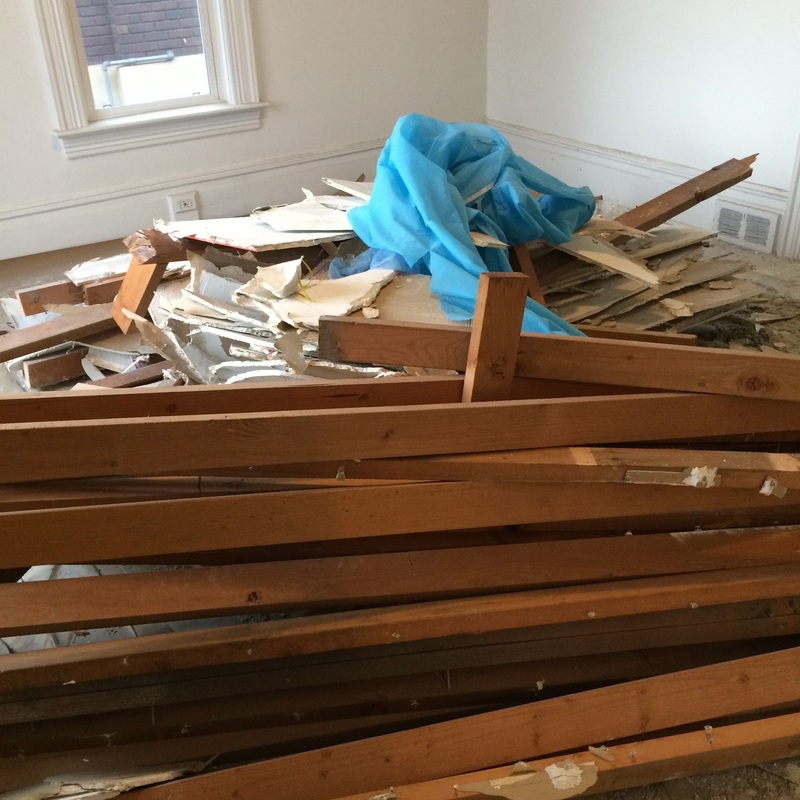
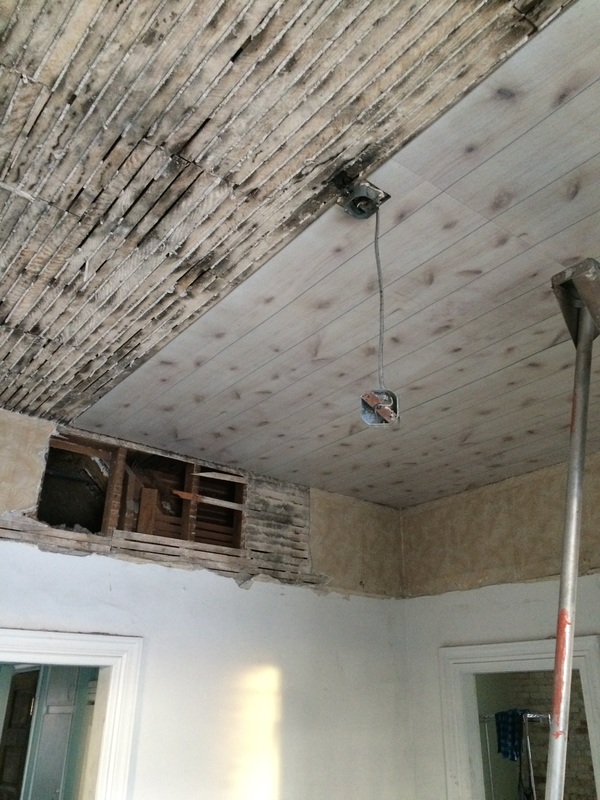
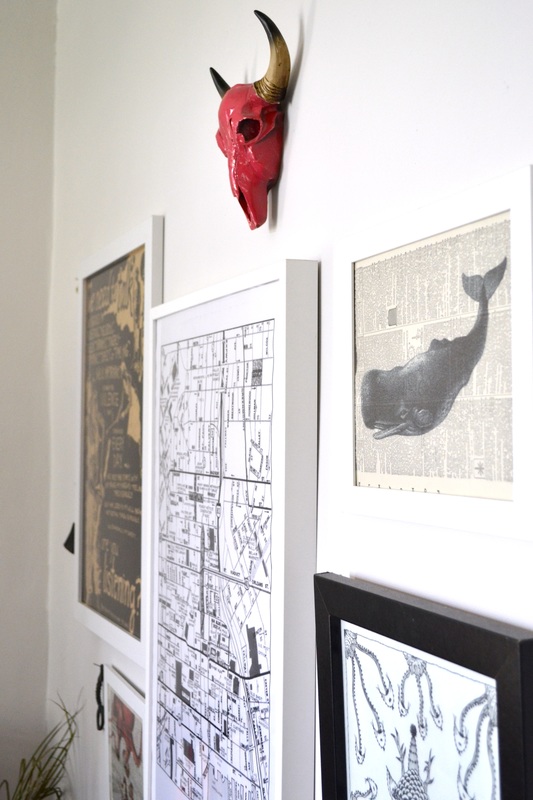
Once all three sides are stapled, flip your board around. Pull the fabric taut over the last side of the foam and staple at the crease (where the foam ends). It should look like this: 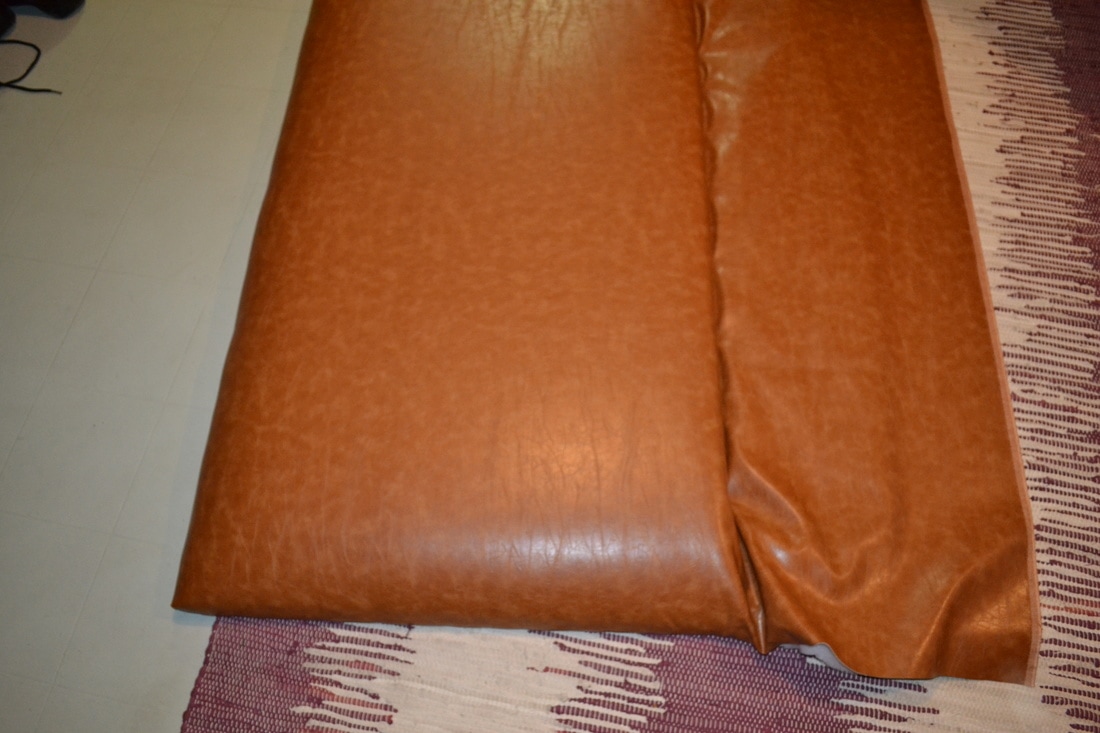 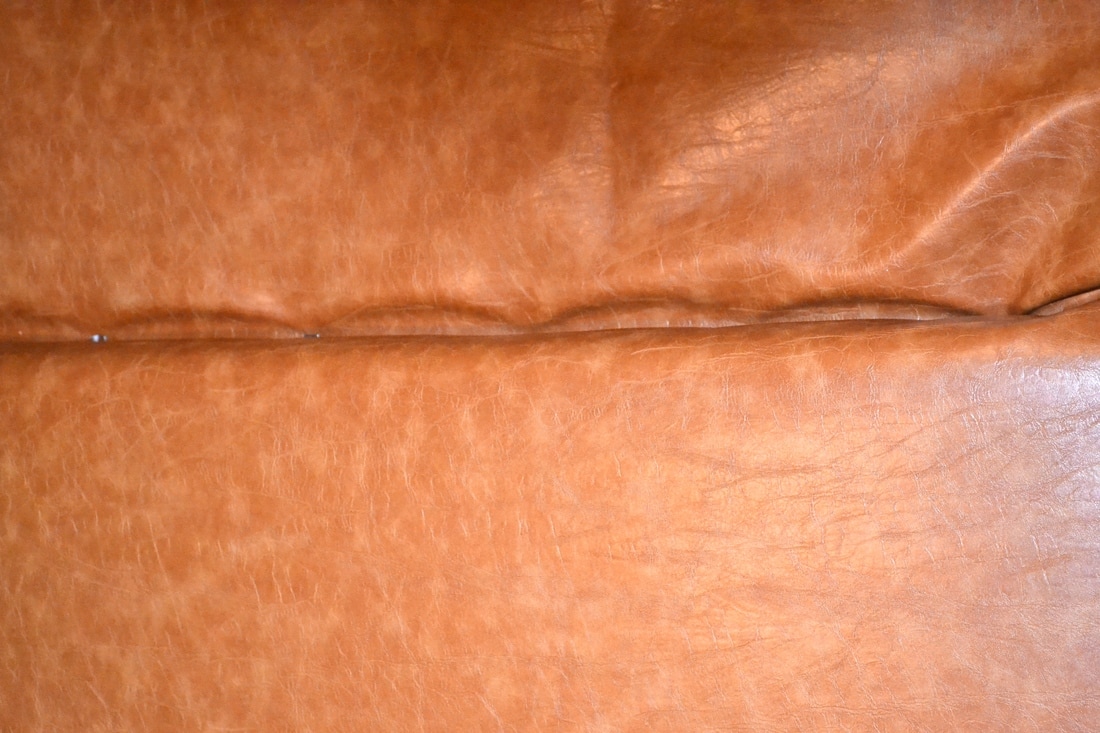 Flip the board back over, pull the fabric taut and staple the remainder of the fabric (part of each side + the bottom) to the back of the board. And, ta da! That's it! Pretty easy!  I've been hesitating to post photos of our bedroom, even though it's been "finished" for ages, because I'm still not feeling satisfied with the layout. So instead of a before and after, here is a progress update. We removed the false ceilings and exposed the brick on one wall. And, like the living room, we painted everything white. The last owners of the house had removed the closet from the room. We thought about installing one, but decided to keep the space bigger and simply added an armoire, shelves, dressers, and a storage bed.. (Although now I'm scheming about how to add a small closet because all the dressers are starting to feel bulky. Hm....) Another strange thing about the room is the door behind the bed, which leads into the other 1st floor bedroom. We haven't yet decided what to do with it; I tried filling it with a bunch of random art I've been collecting, but I wasn't sure about it, and took it all down. Now the wall is feeling a little bare. (Thoughts?) And! Another door! It's to the right of the bay windows, and leads outside; it even has a closed off mail slot. For now, we have my gigantic Pilates reformer taking up a bunch of space in front of the bay windows (waiting for it's permanent home in the backyard studio, which is not yet finished... nor started.) So. How would you rearrange the room? What would you do with all it's weird quirks? BEOFRE
DURING
AFTER 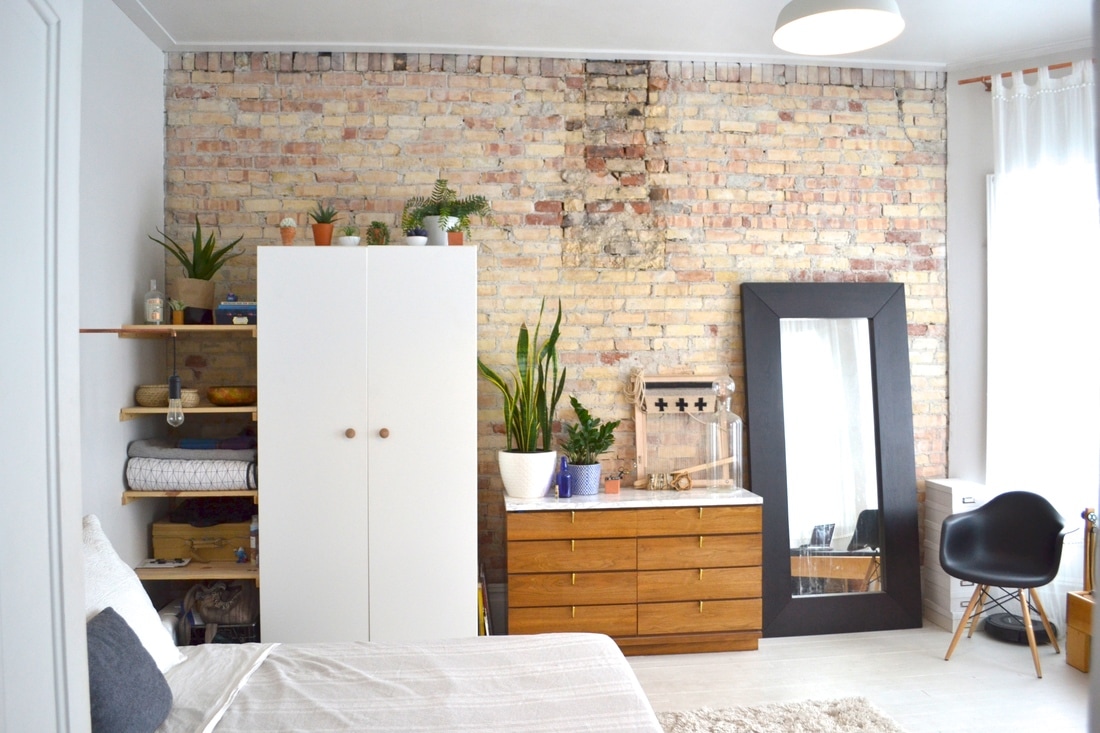 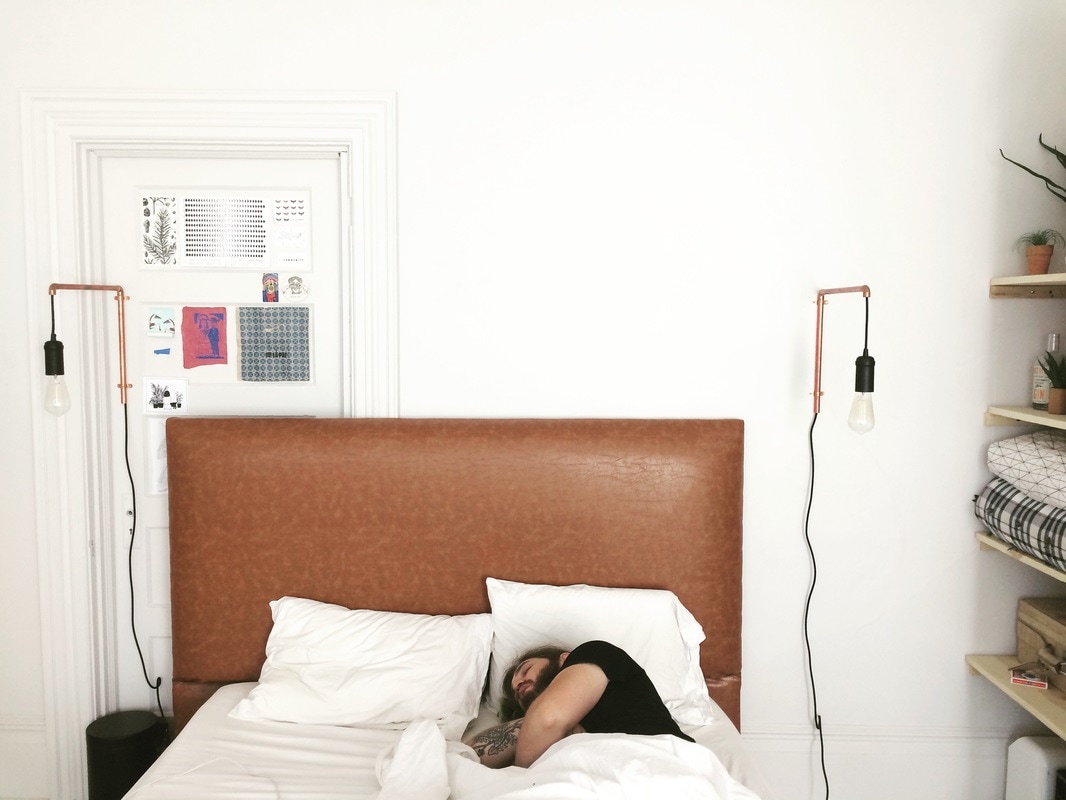 ^^ With artwork? 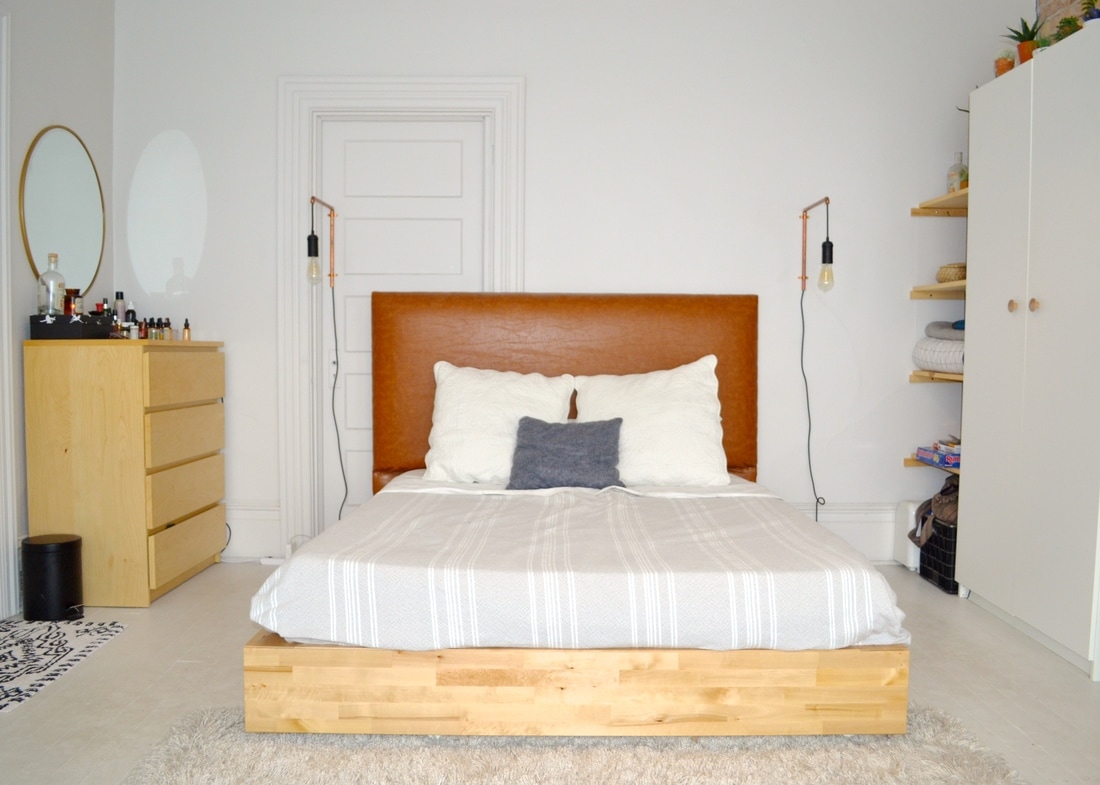 ^^ Or without? Also, I'm not in love with that dresser, or even in like with it. It was given to me for free, but I'm thinking of scrapping it and finding another spot for my clothes. (Whyyy do I have so many?!) 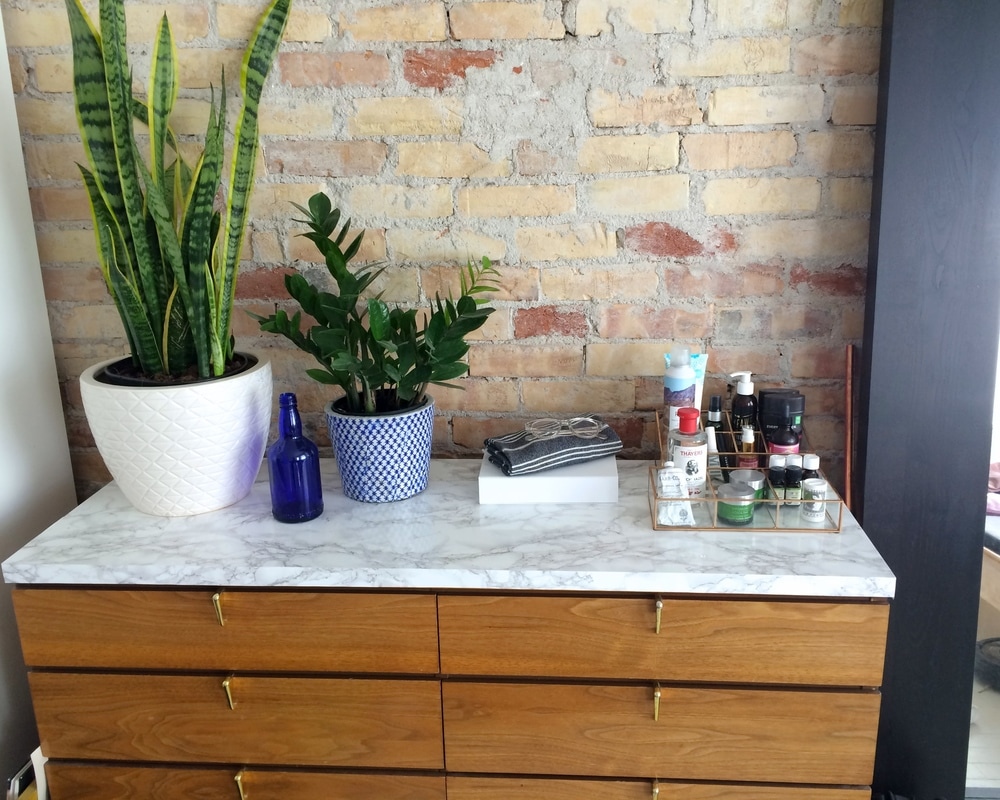
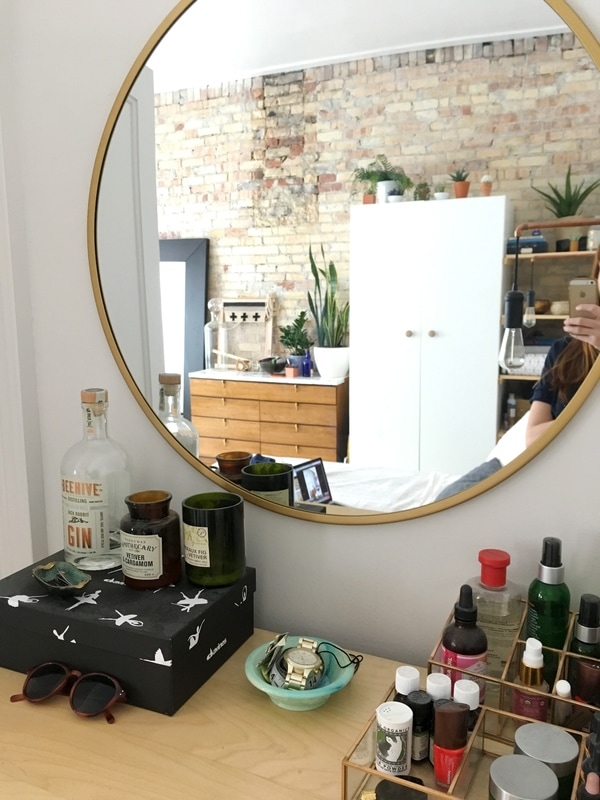
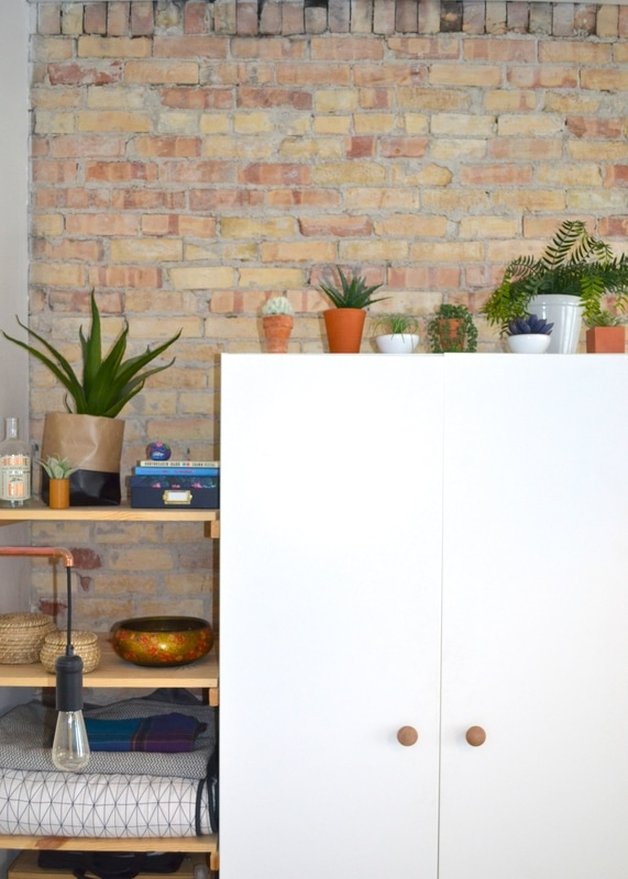 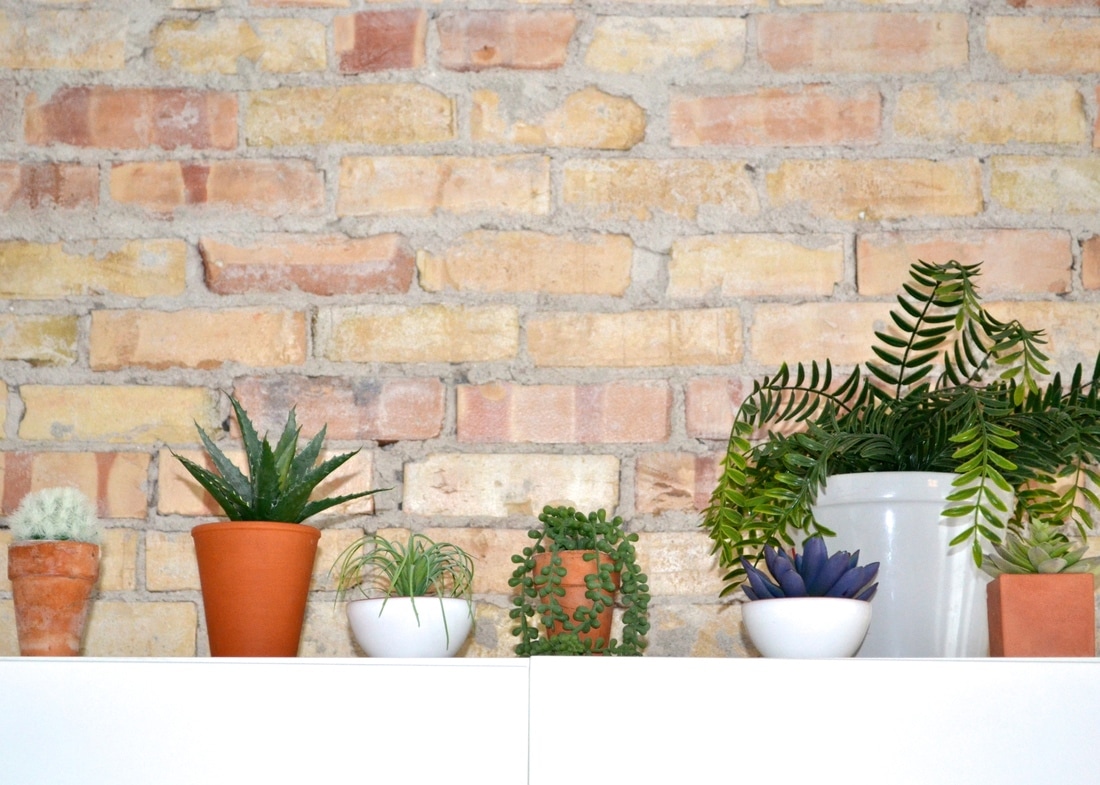 Want to know a secret? All of these plants are fake! I love greenery, but this area of the room doesn't get enough light + watering plants this high is nearly impossible. So. Fake it is! But, I planted them in real dirt, if that counts for anything ;)
Sources:
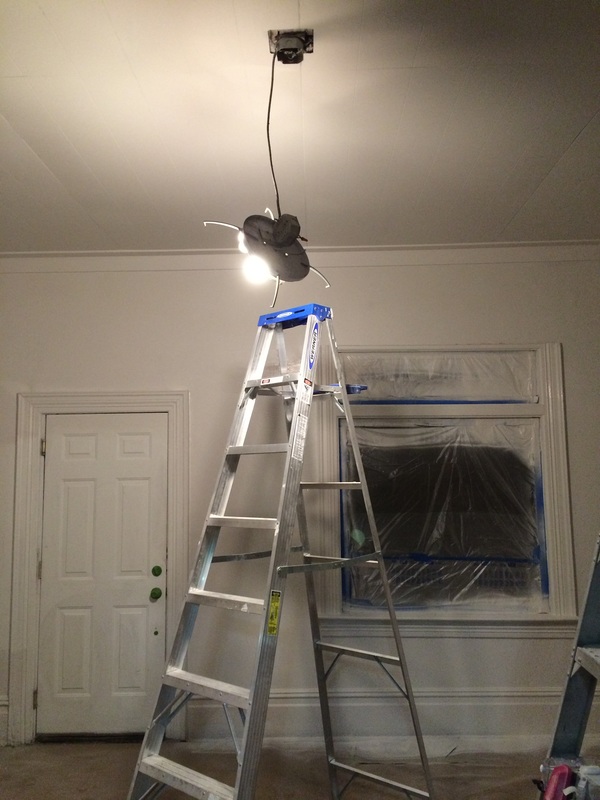
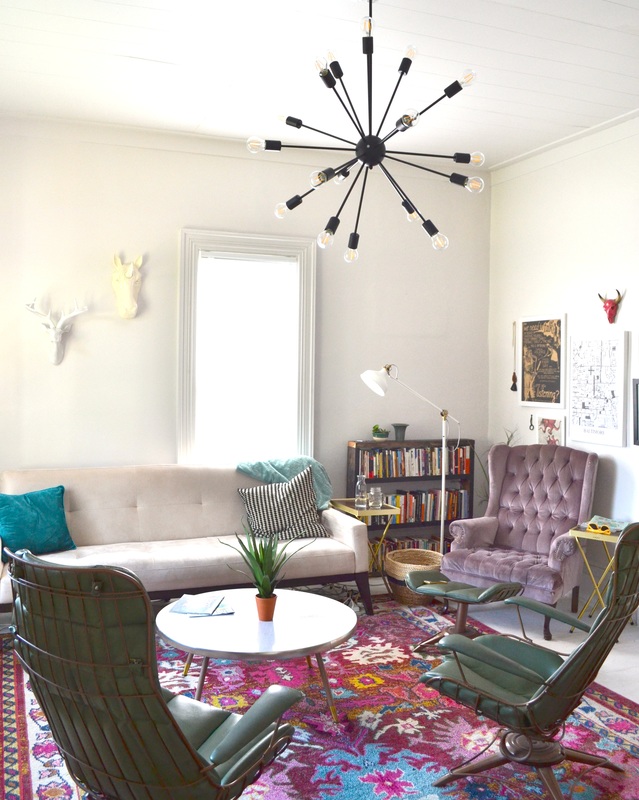
bed (IKEA) headboard (DIY, tutorial here) copper wall sconces (DIY) armoire (IKEA) + we added wooden knobs to give it more of a custom look dark dresser (inherited from my grandfather) + DIY faux marble top light dresser (IKEA) large black mirror (IKEA) round gold mirror (target) curtains (IKEA) they weren't long enough, so added a looong custom hem with pompoms :) curtain rod (DIY) ceiling light (IKEA) Our living room got a big makeover! We removed the false ceilings (apparently it was hip to have low ceilings in the 50's ???) along with 9 different layers of wall paper to reveal the original tall ceilings. We literally covered the entire room in white paint- I'm talking ceilings, walls, trim, and floors. All the white makes the perfect backdrop for our more colorful furniture and art. I love this room because it's bright, airy, and filled with all sorts of sentimental things that we've either inherited or made. BEFORE
DURING
 AFTER 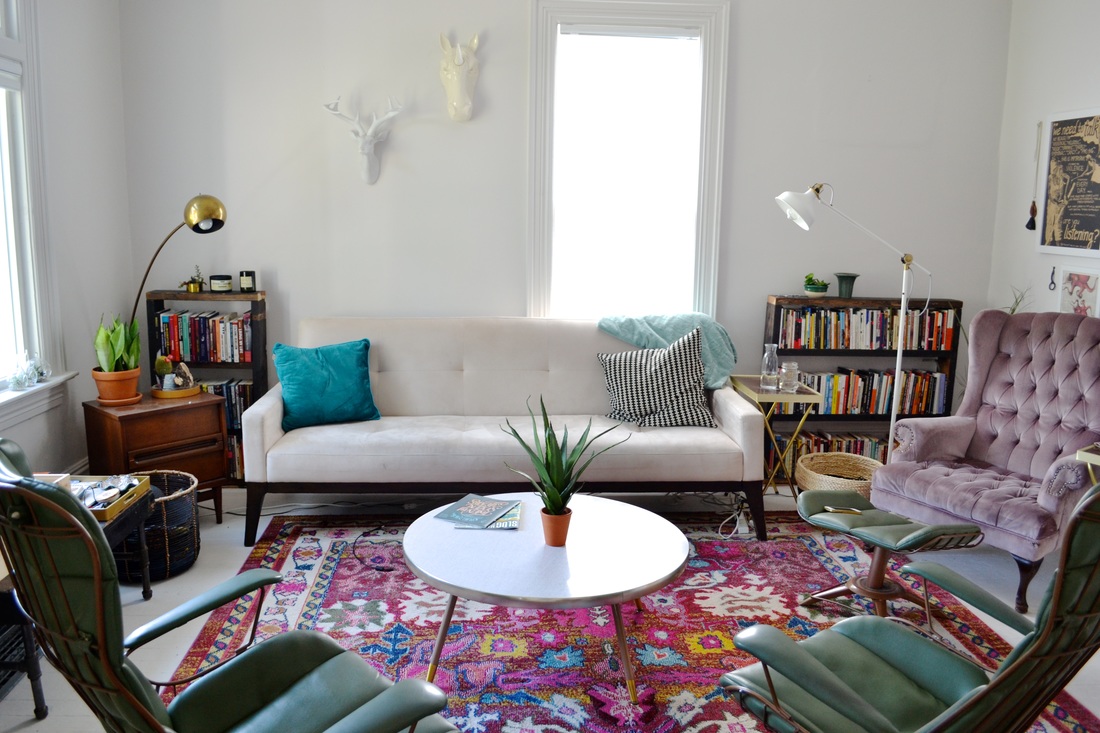
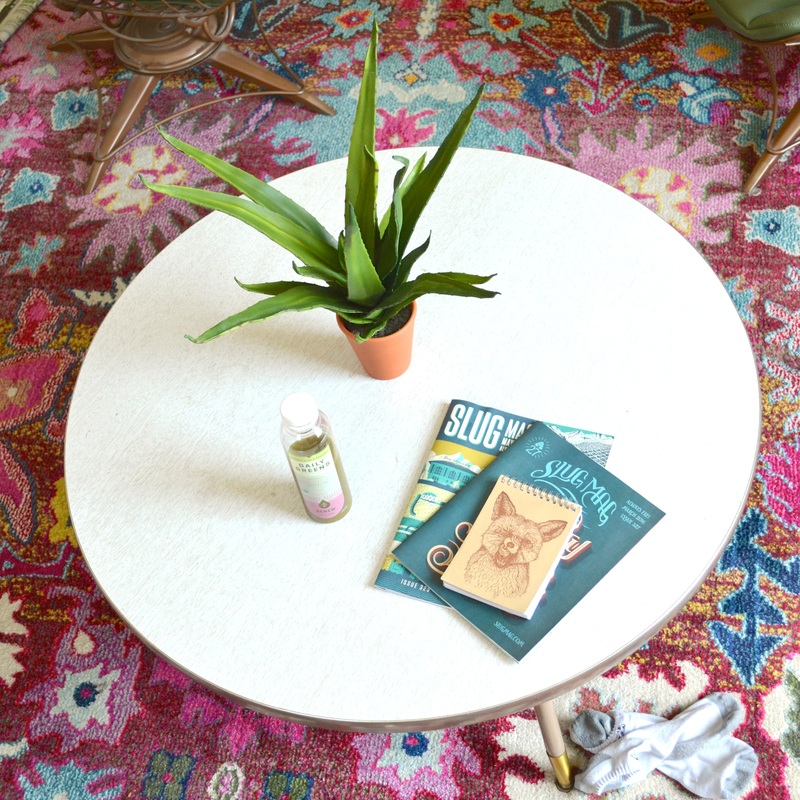 ^^ Haha, I just noticed Jon's socks in the photo. What can I say? We live here... 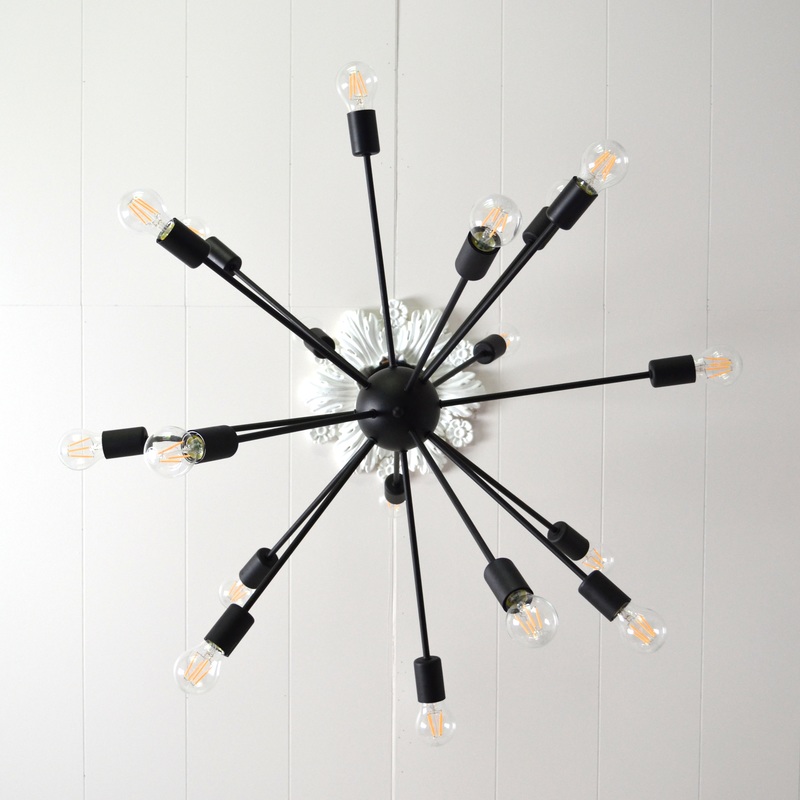
Sources:
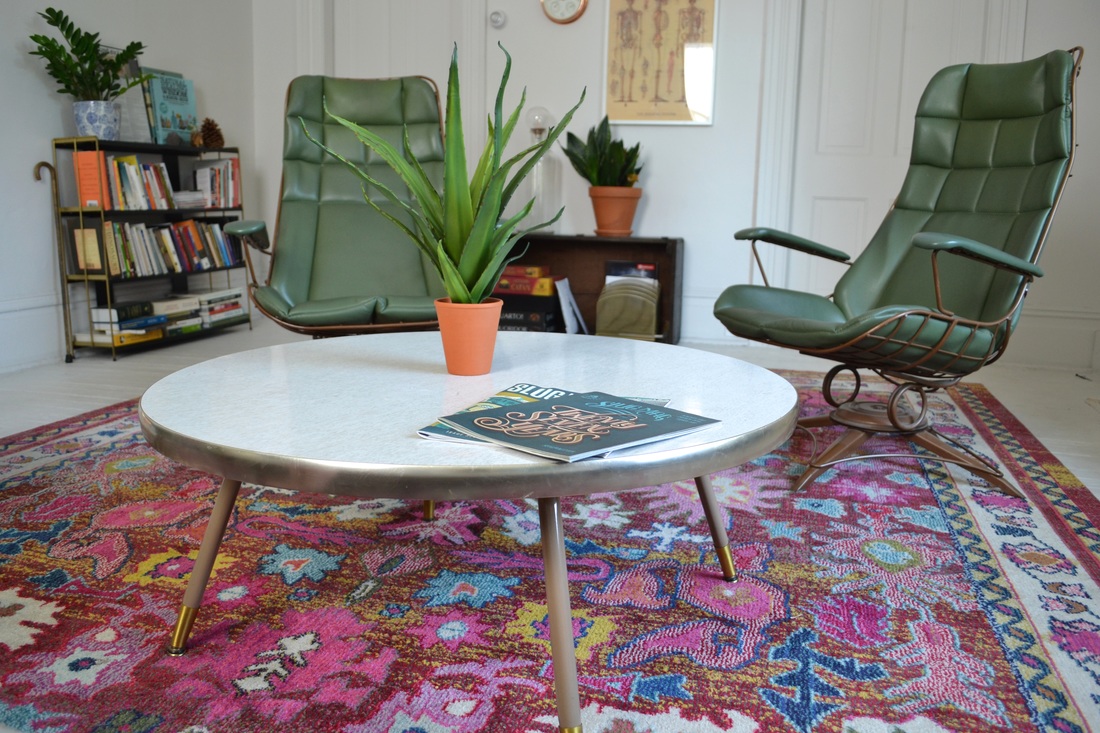
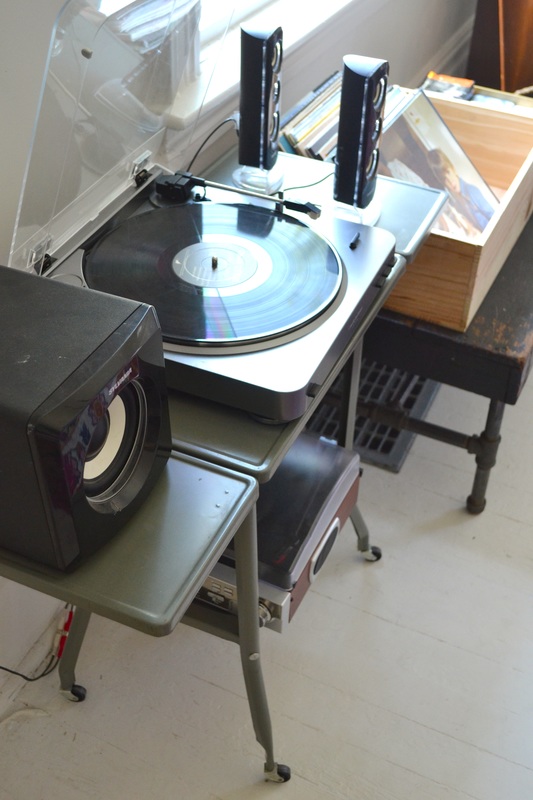
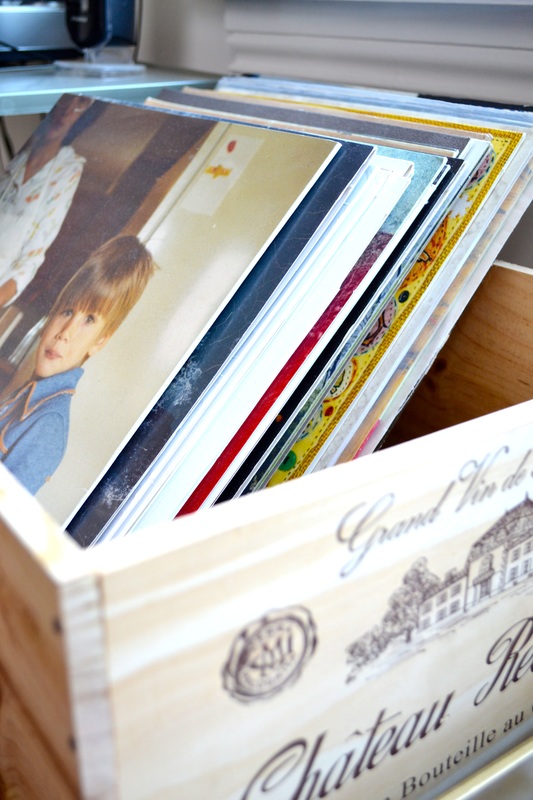
couch (west elm old, but similar here) light fixture & bulbs (amazon) rug (wayfair) mauve chair (thrifted) white lamp (Ikea) green chairs, brass side tables (TV dinner trays, haha), brass lamp, coffee table, and record player stand are all inherited from my grandfather (some even from my great grandfather!) |

ELLEfeminist. linguist. traveller. foodie. crafter. ARCHIVES
January 2018
Categories
All
 All photos are the property of Elizabeth Cheney and may not be used without permission.
|


 RSS Feed
